Sign up and create organisation
This guide walks you through creating your Dingo Desk account and setting up your first organisation. You’ll be ready to start managing jobs in just a few minutes.
What you’ll learn
Section titled “What you’ll learn”- How to sign up for a new Dingo Desk account
- How to log in to your account
- How to create your first organisation
- How to complete your user profile
Step 1: Sign up for an account
Section titled “Step 1: Sign up for an account”Start by creating your Dingo Desk account.
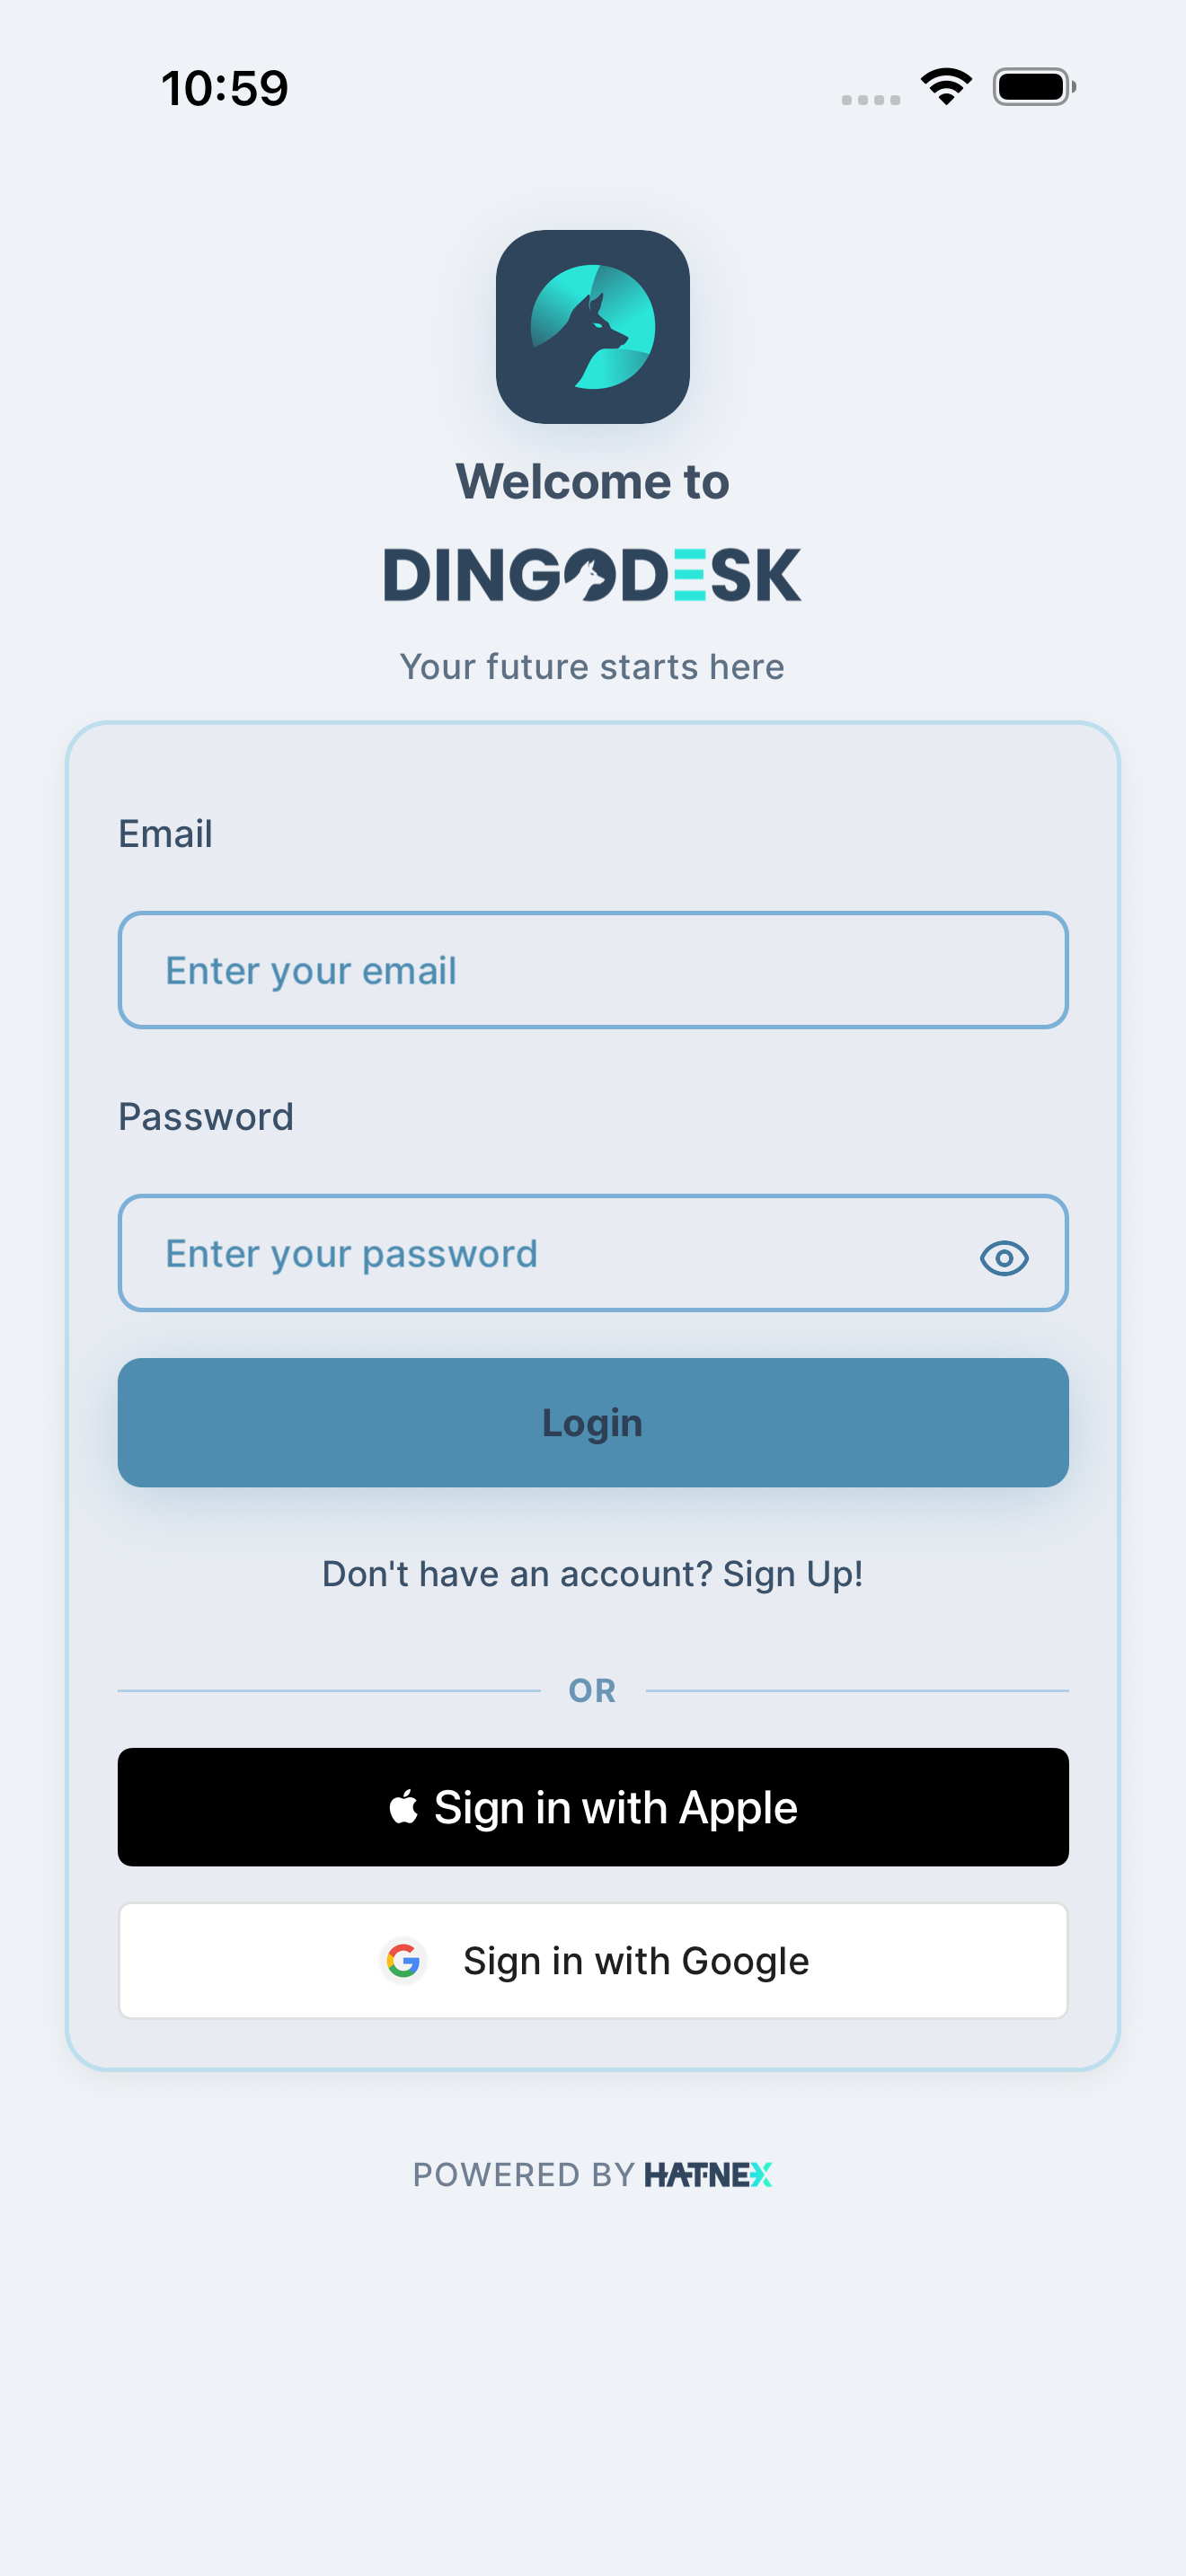
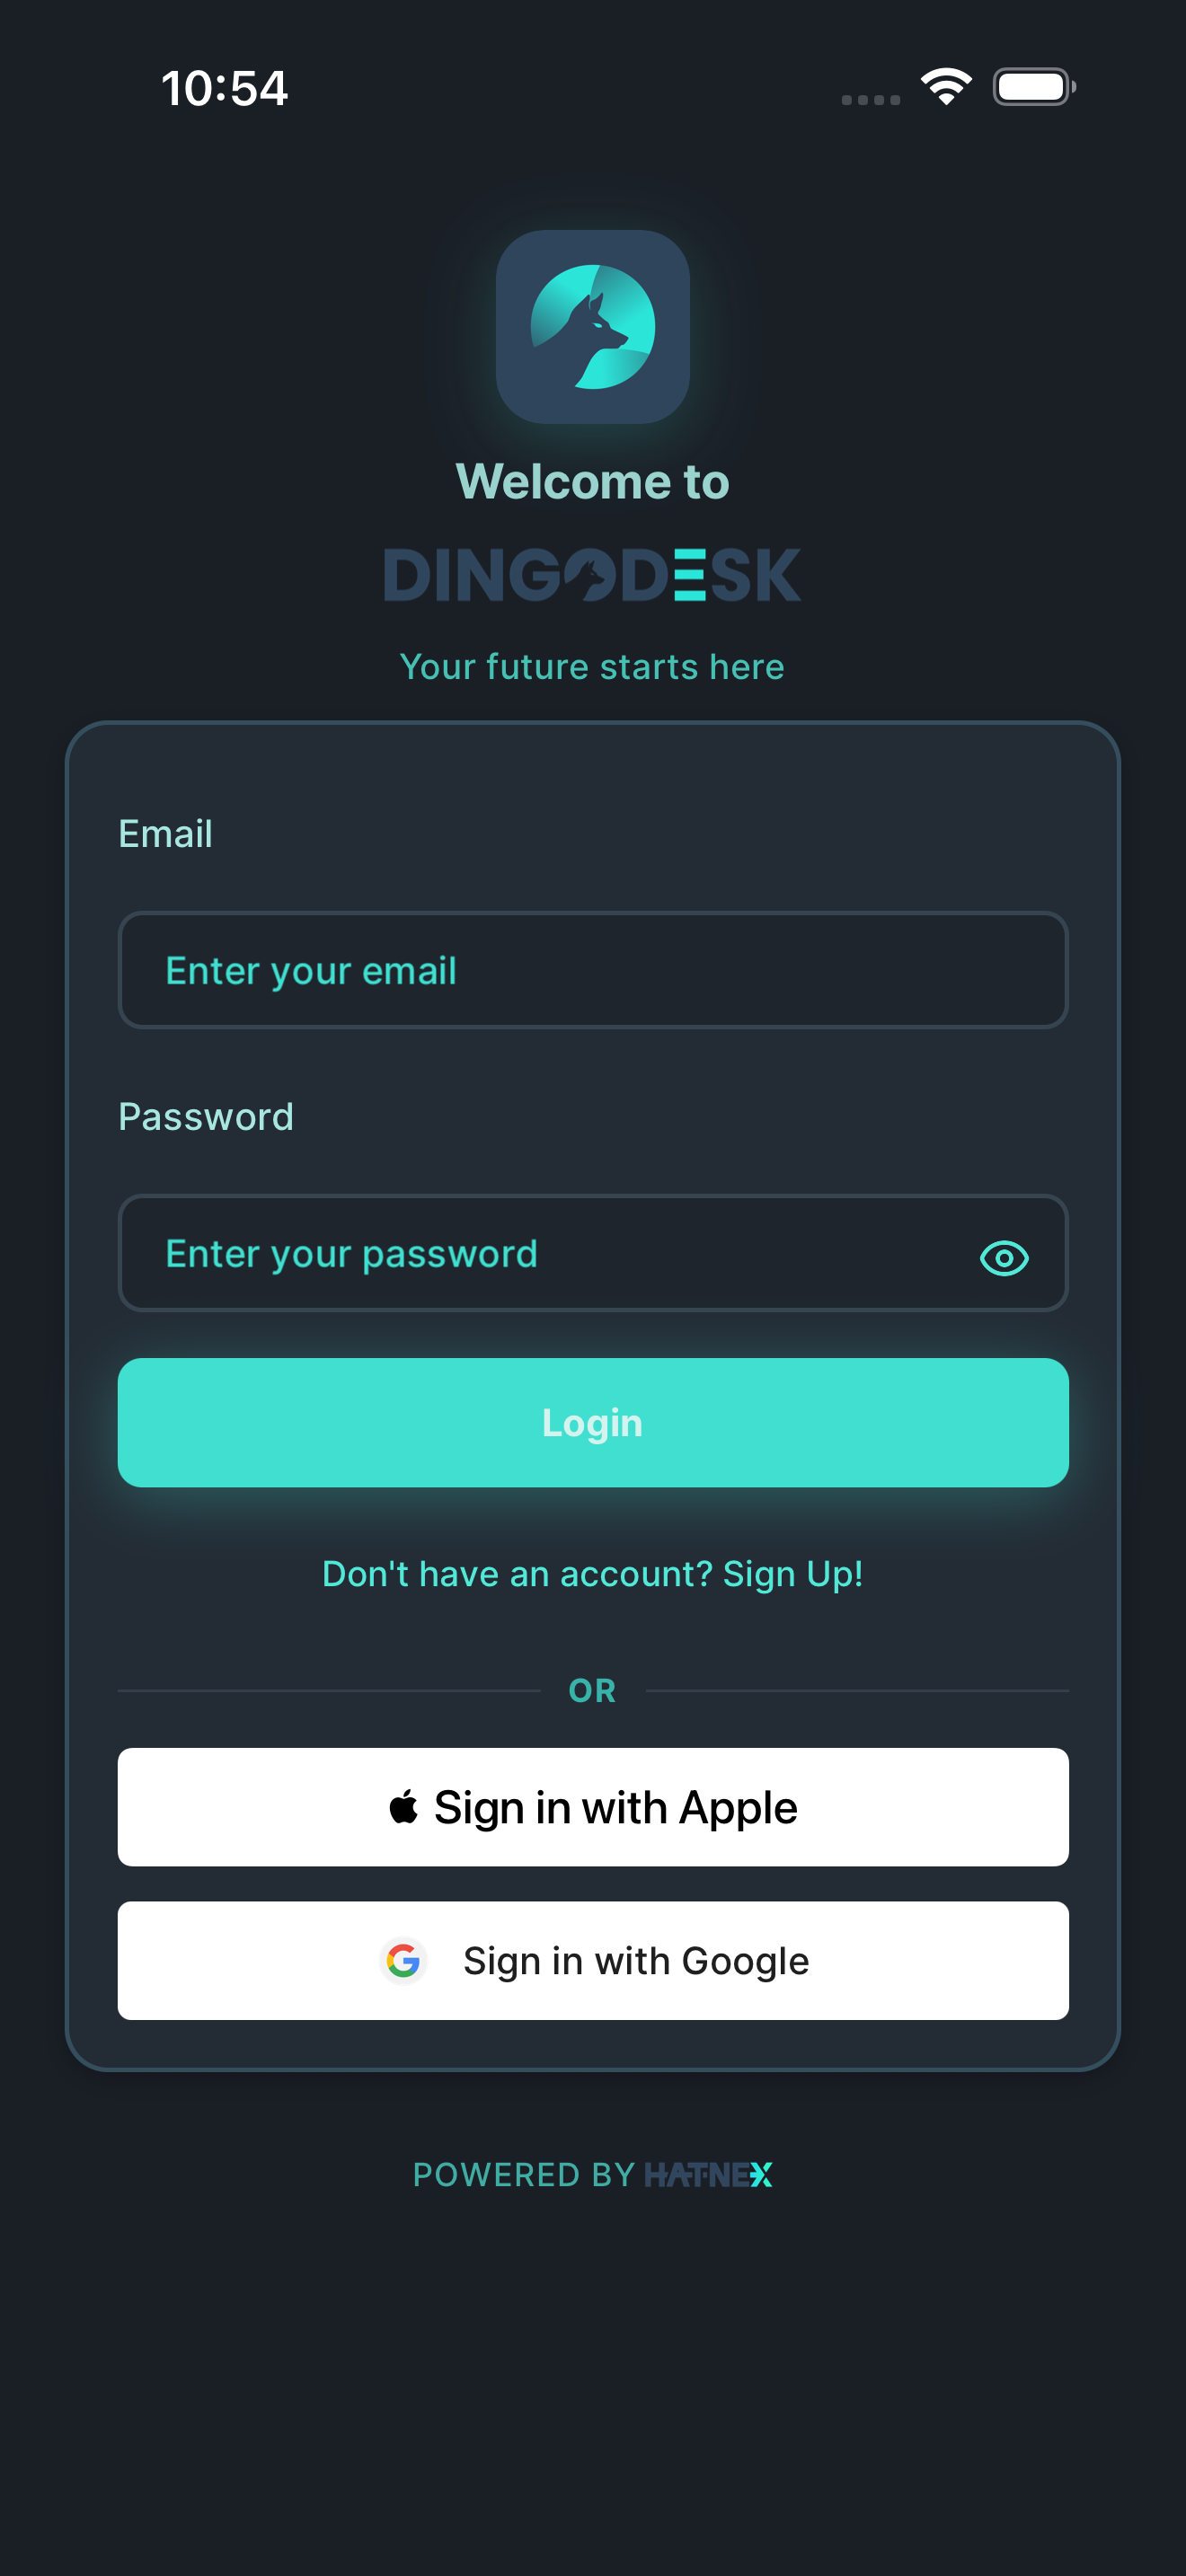
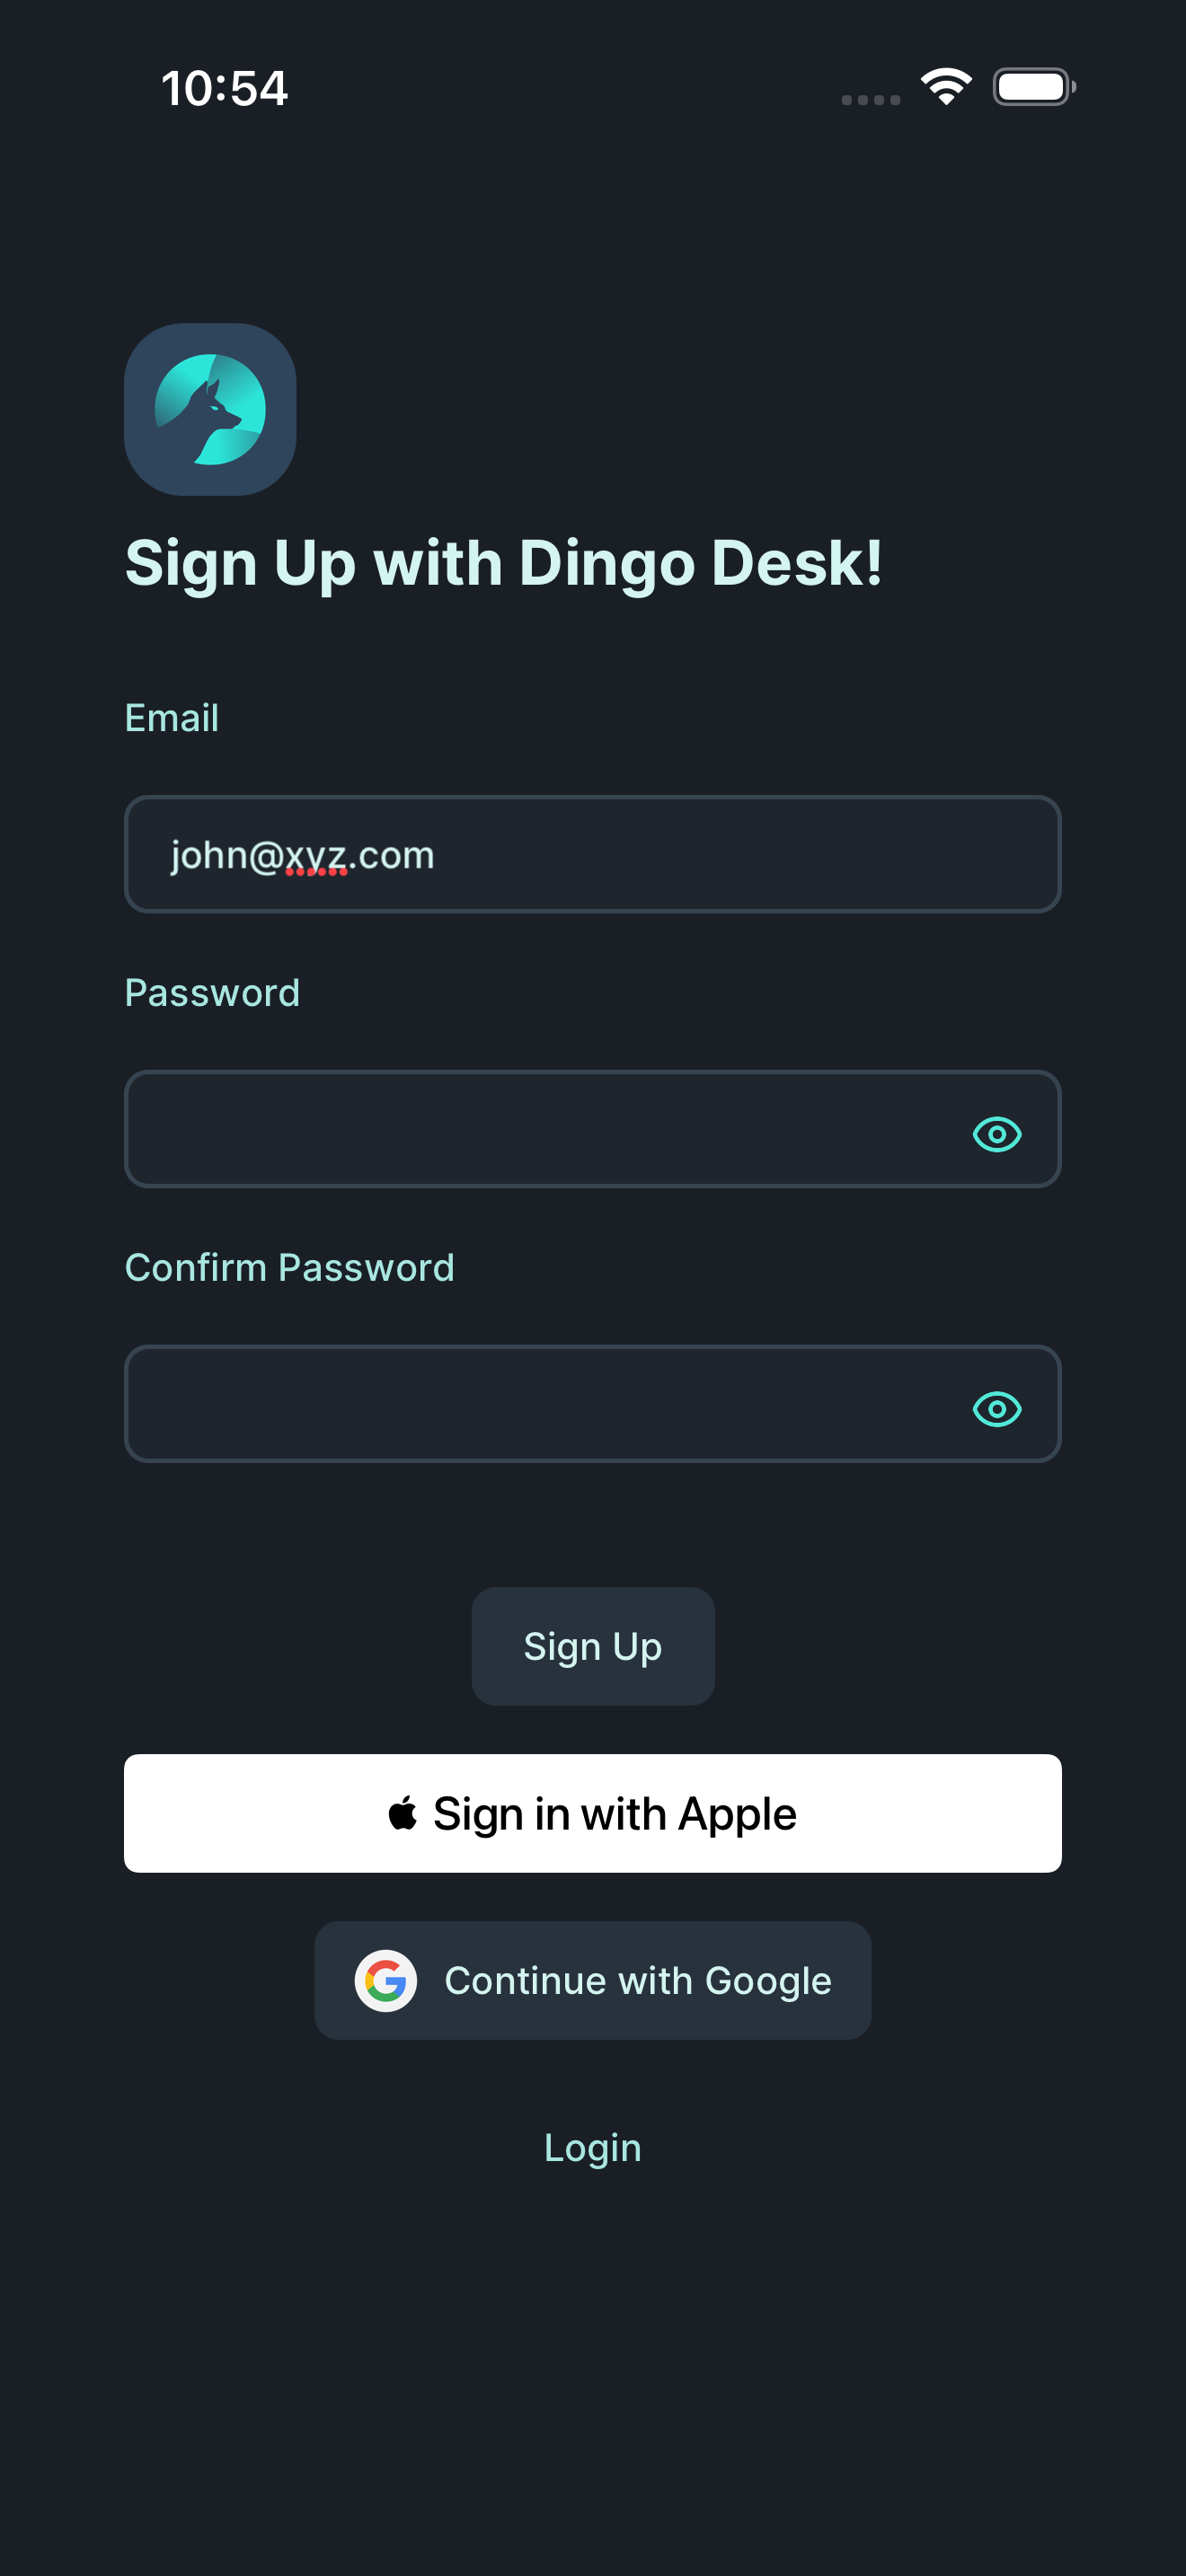
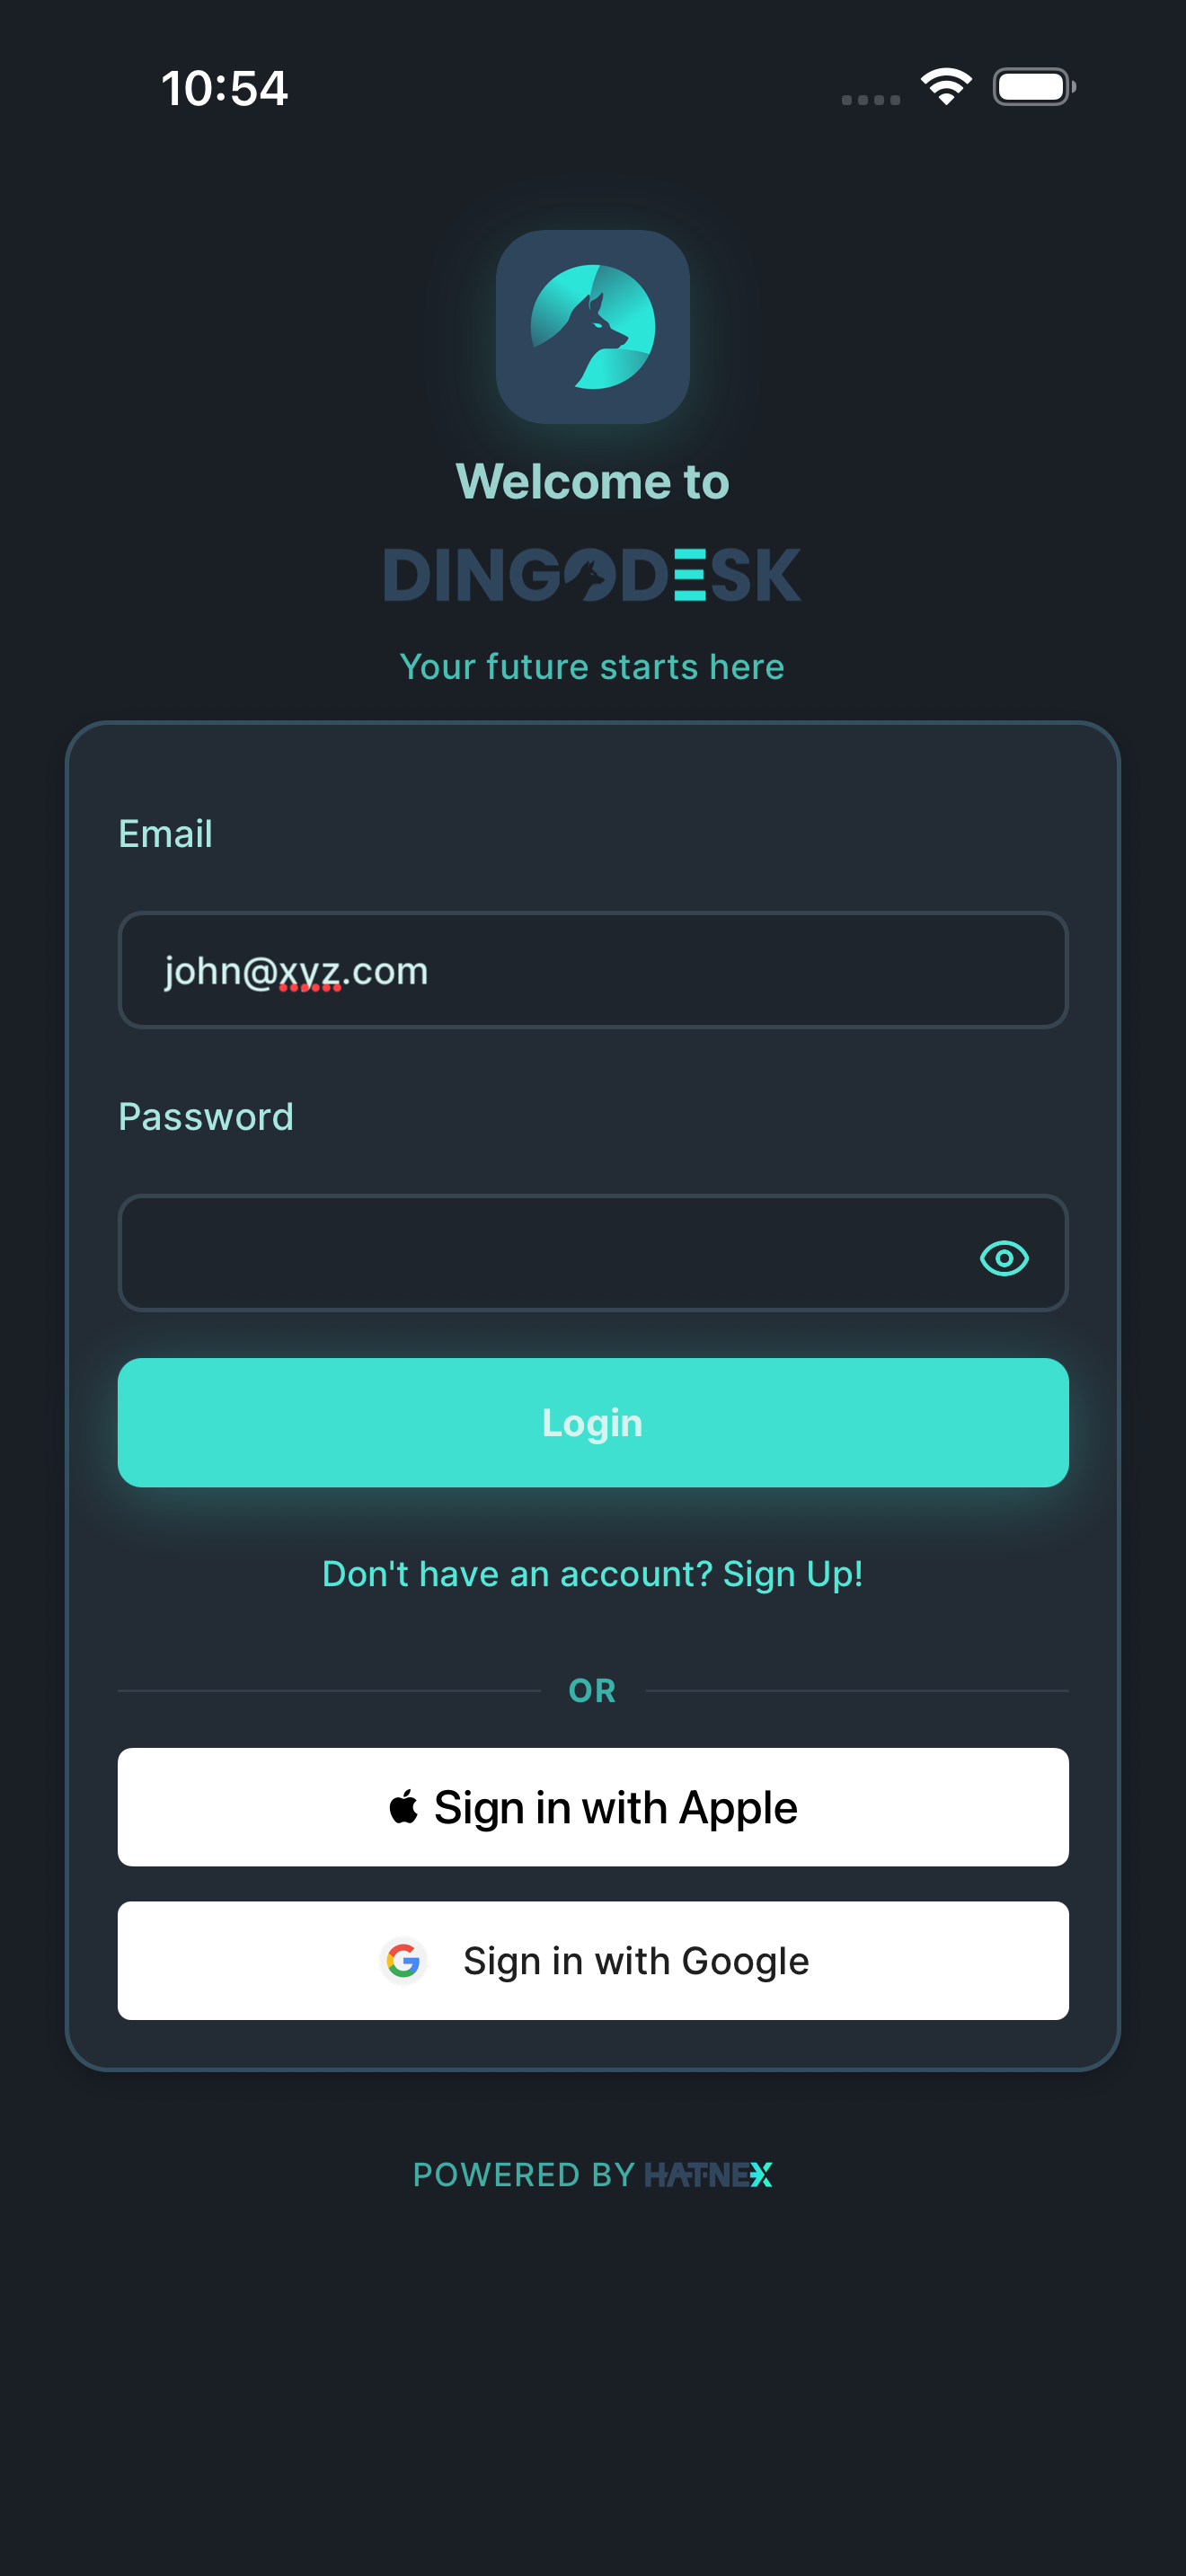
Open the Dingo Desk app and tap “Don’t have an account? Sign Up!” on the login screen.
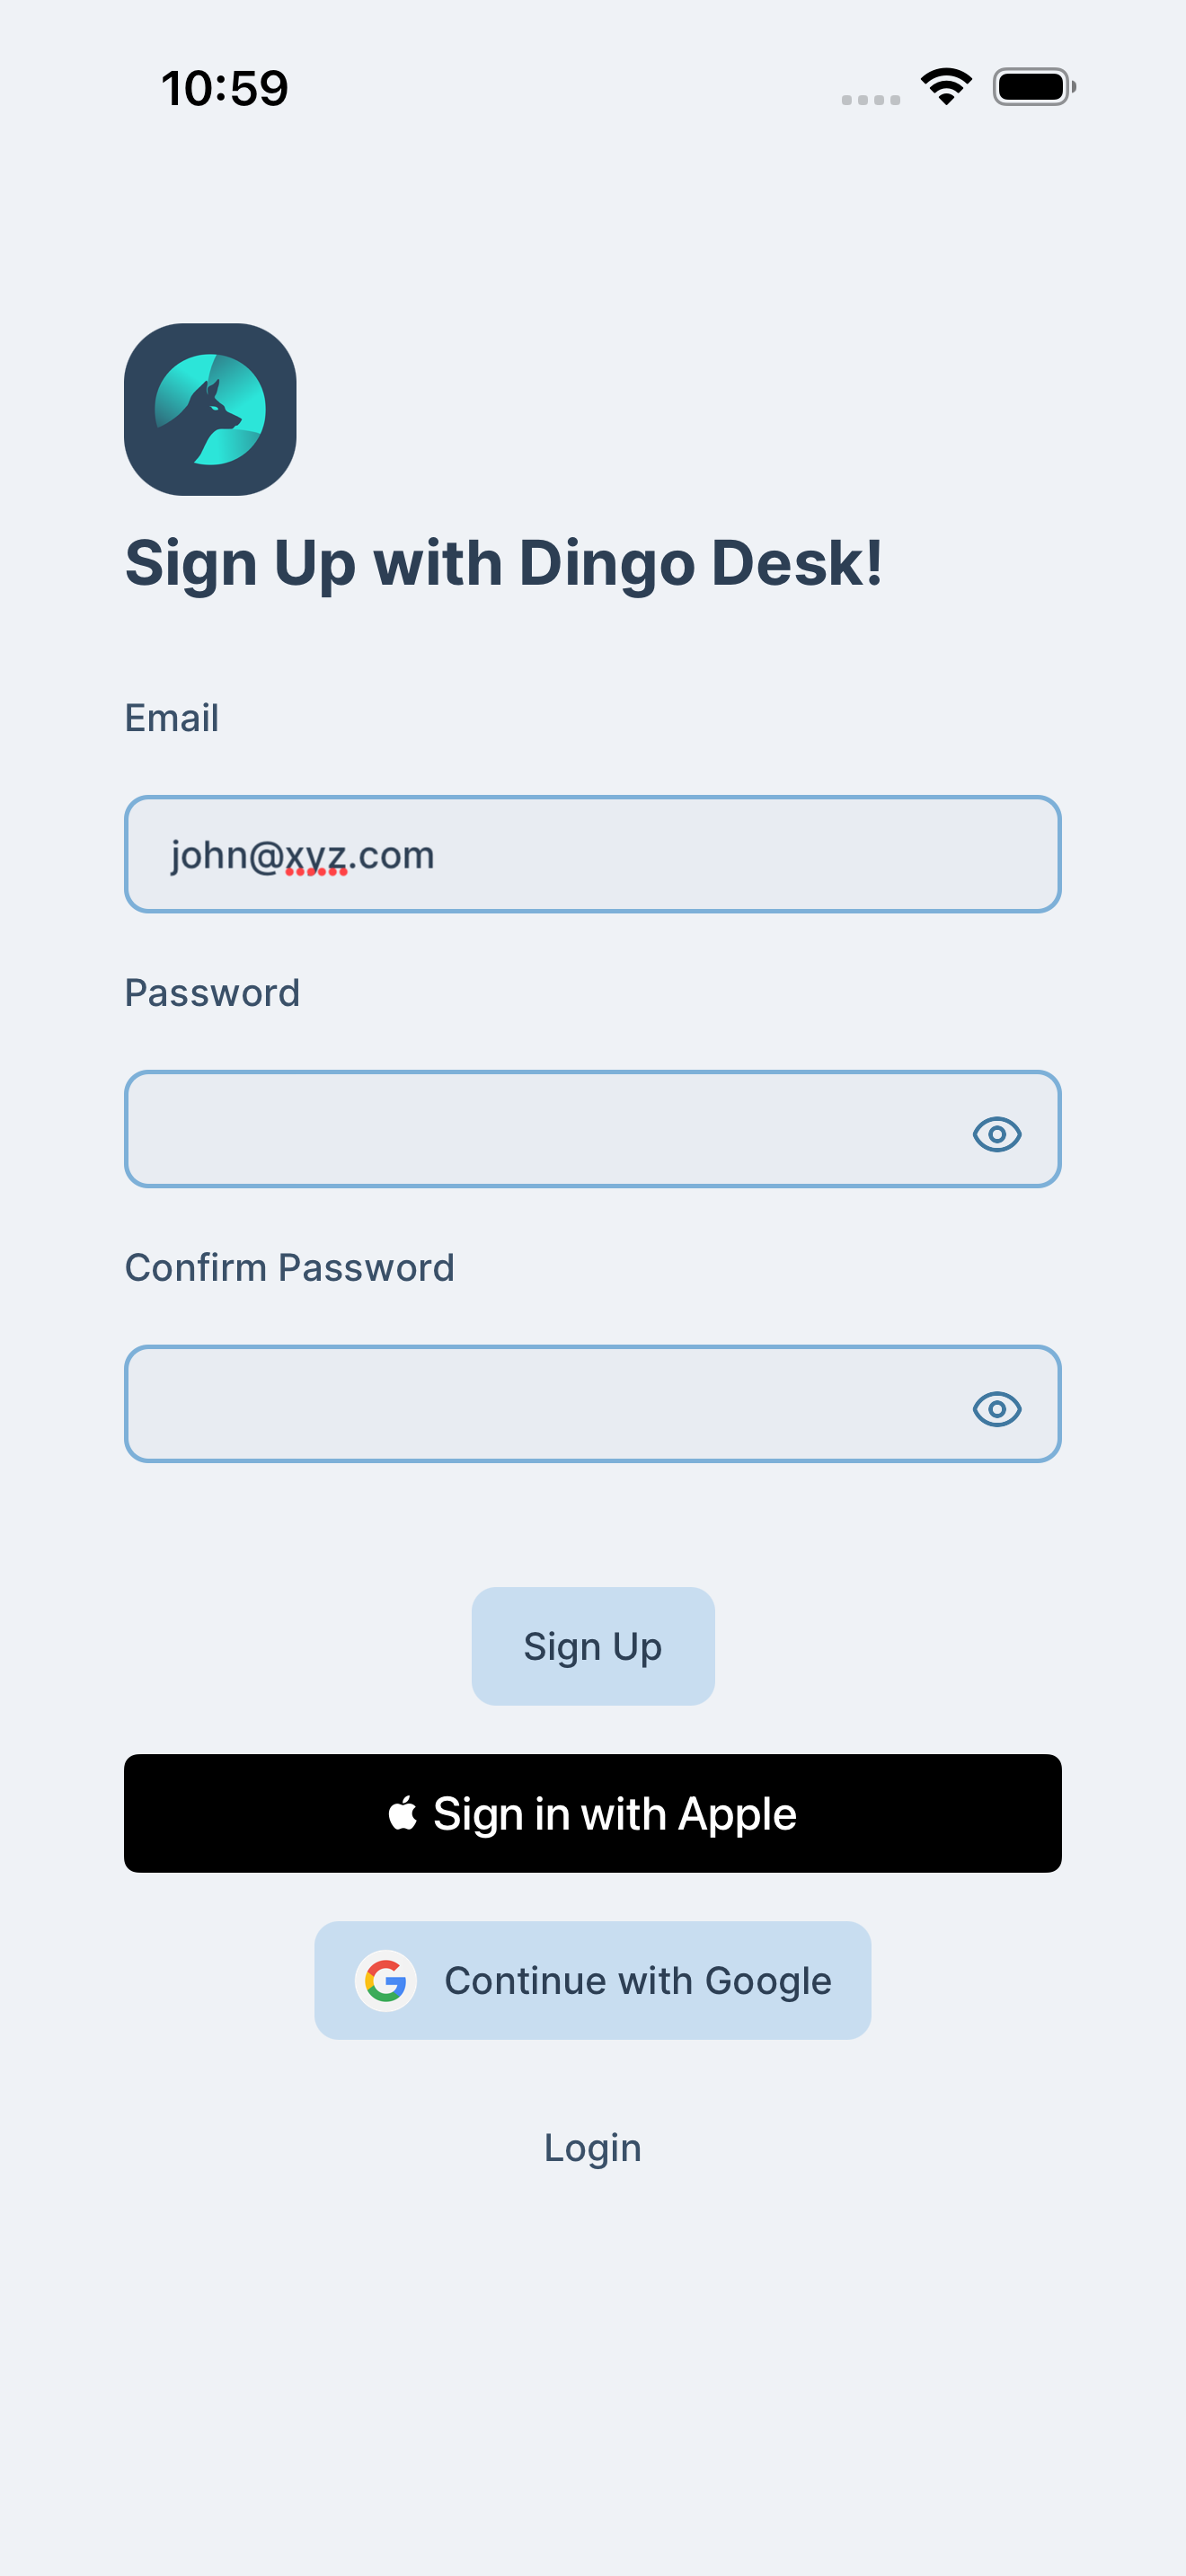
You’ll see the sign-up form. Enter your email address and create a secure password.

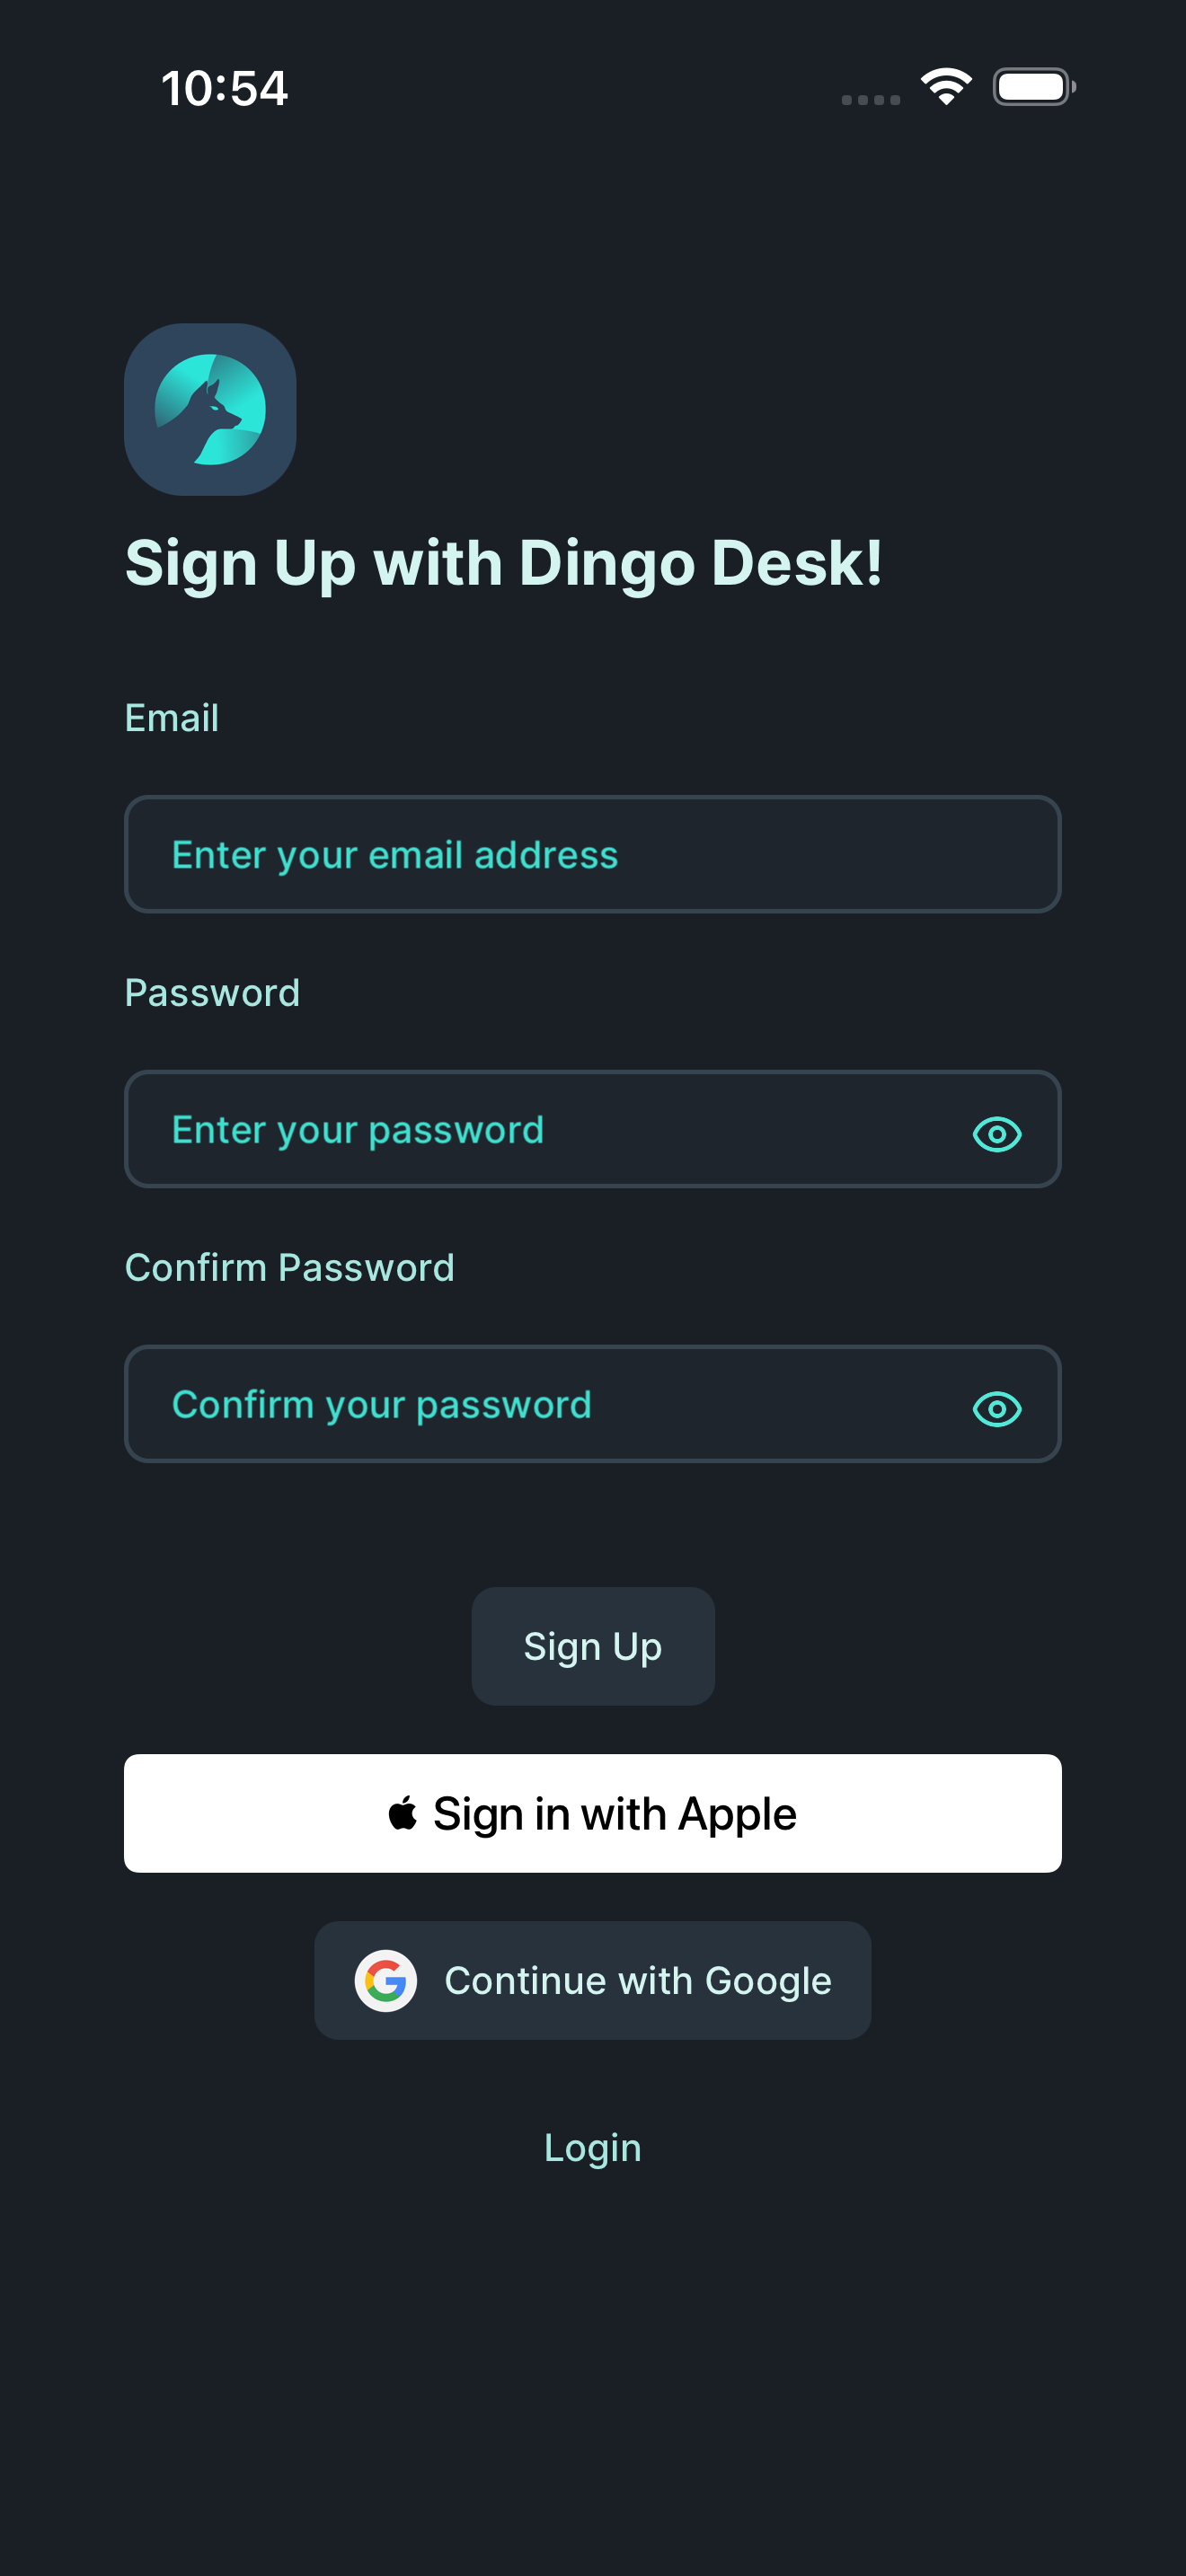
Fill in all required fields:
- Email address: Your work or personal email
- Password: Choose a strong password (minimum 8 characters)
- Confirm password: Re-enter your password to confirm
Then tap “Sign Up” to create your account.
Step 2: Log in
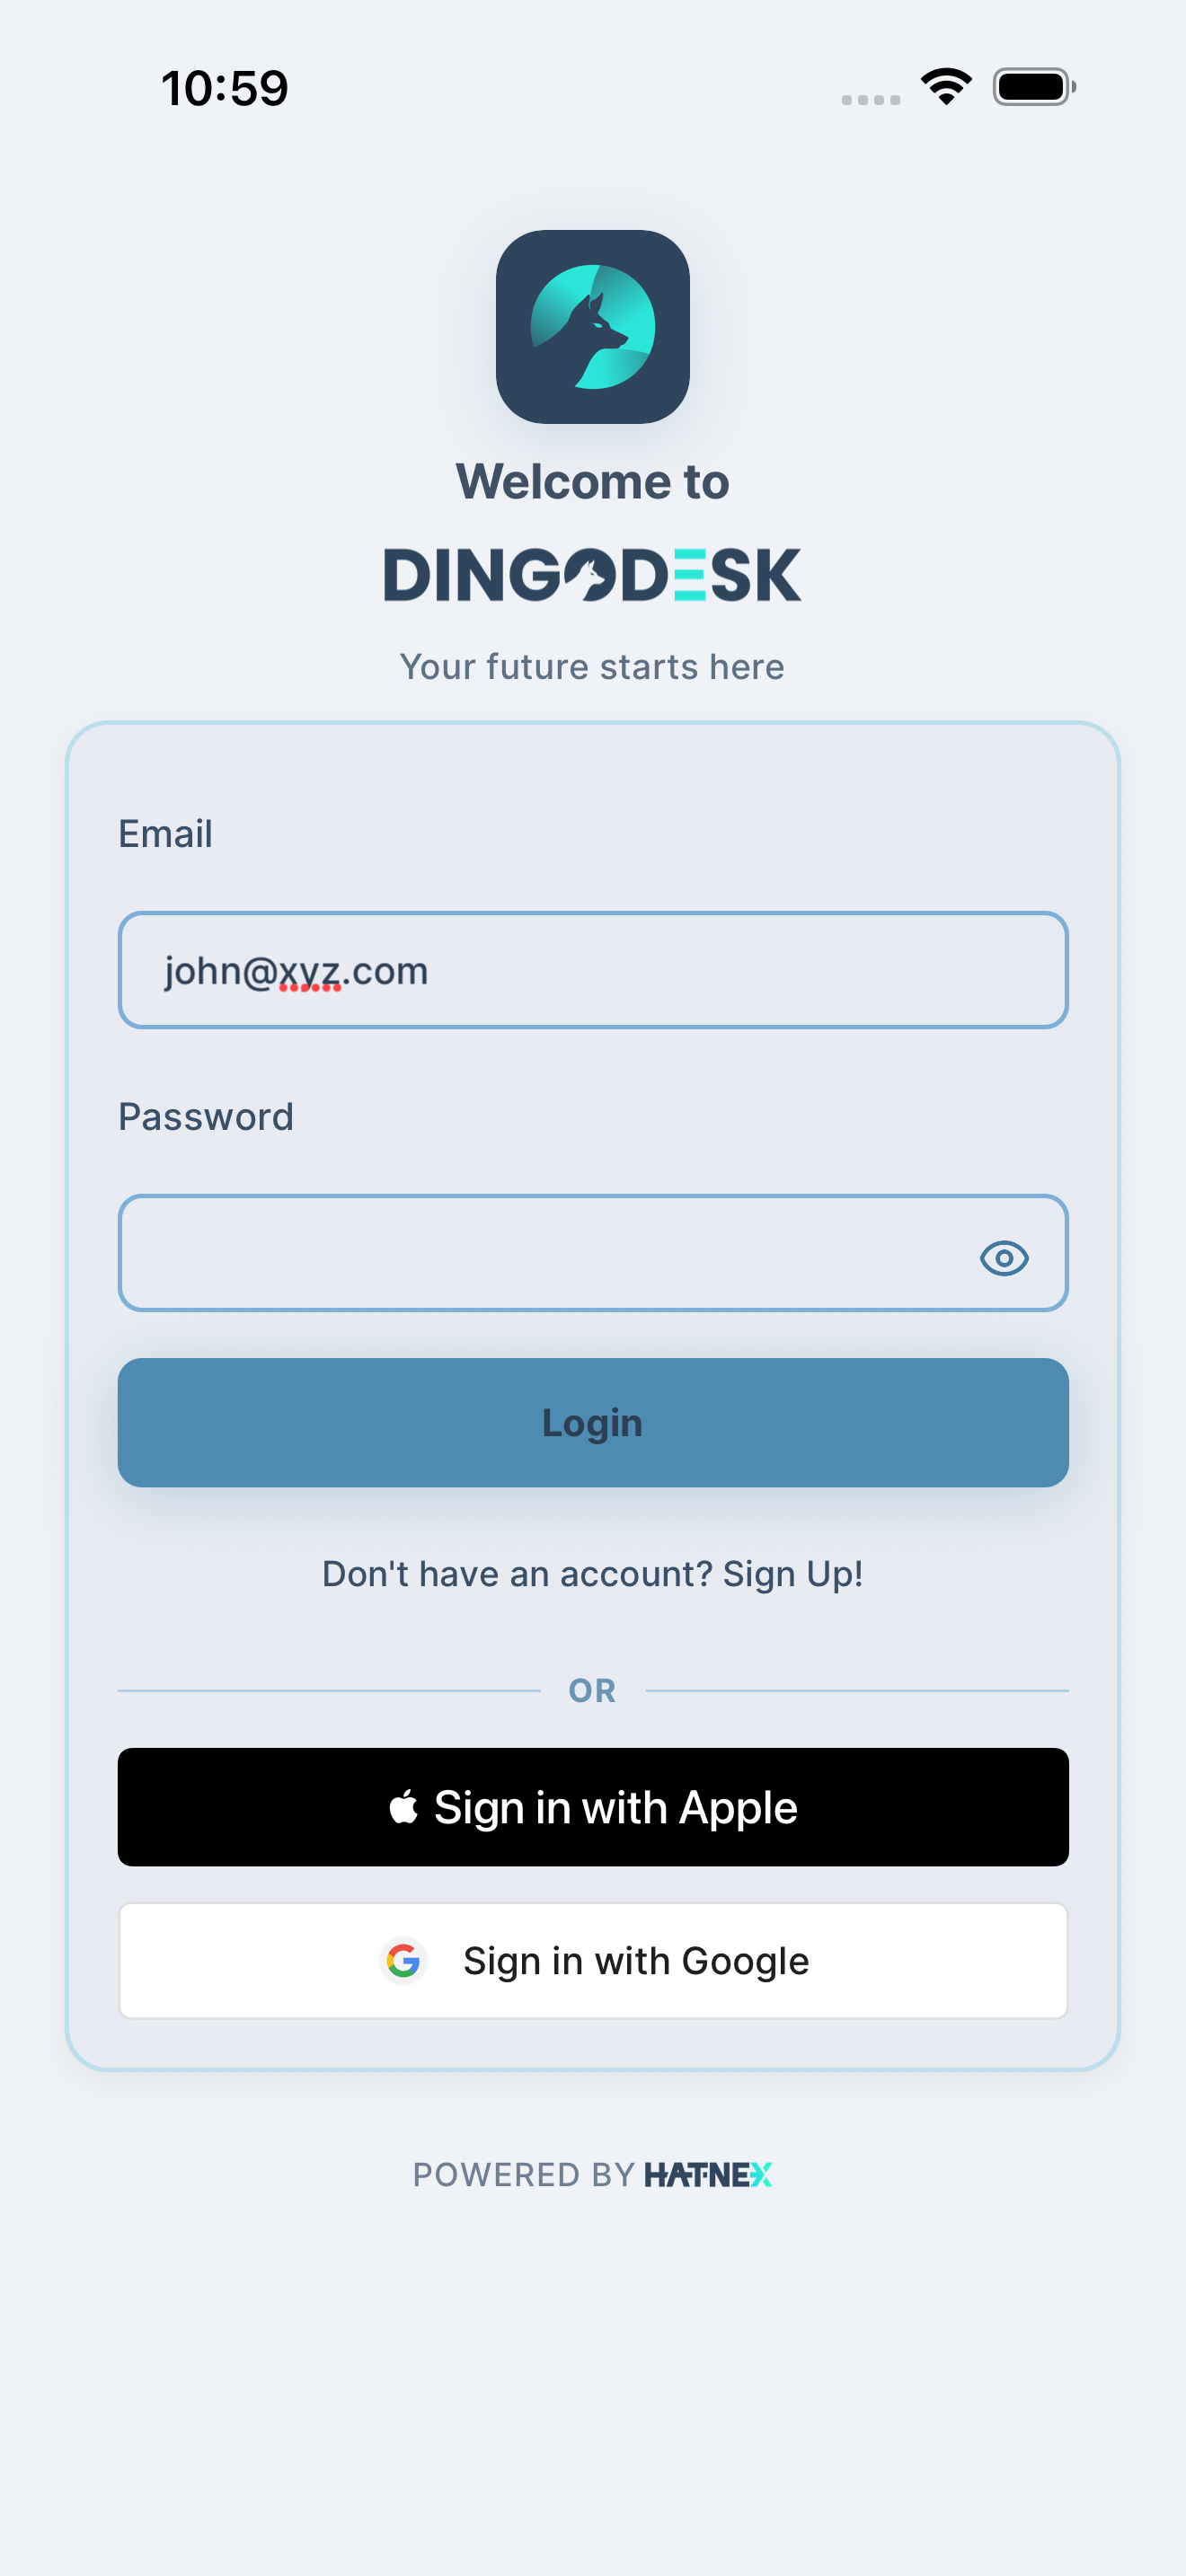
Section titled “Step 2: Log in”After creating your account, you’ll need to log in.
Enter your email address and password on the login screen, then tap “Login” to access your account.
Step 3: Create your organisation
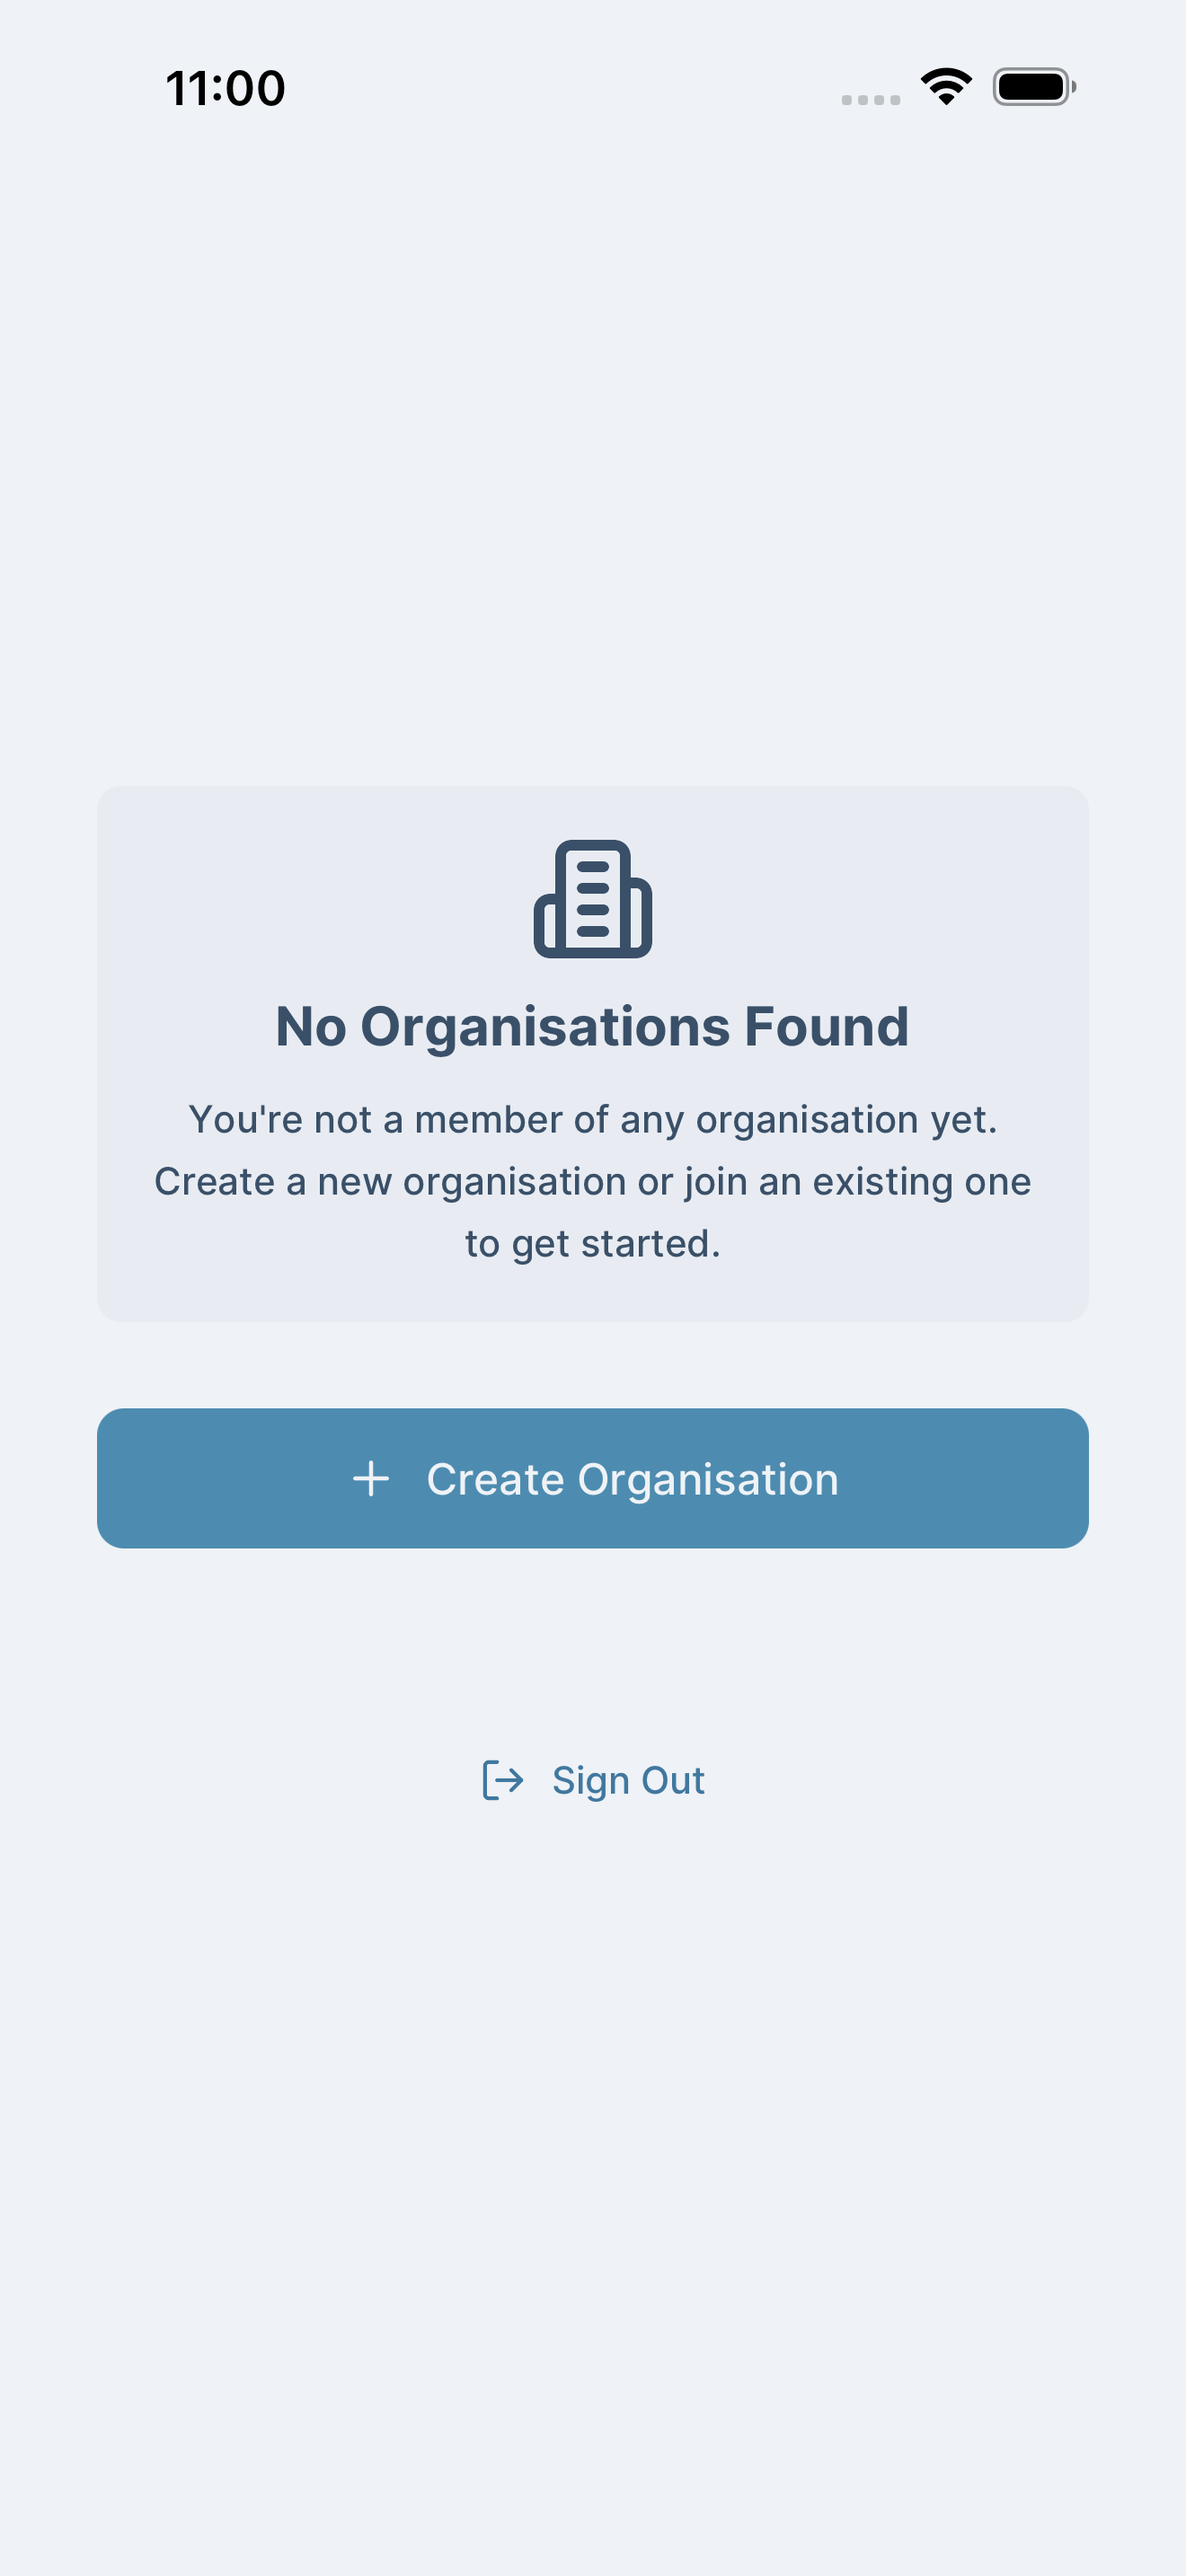
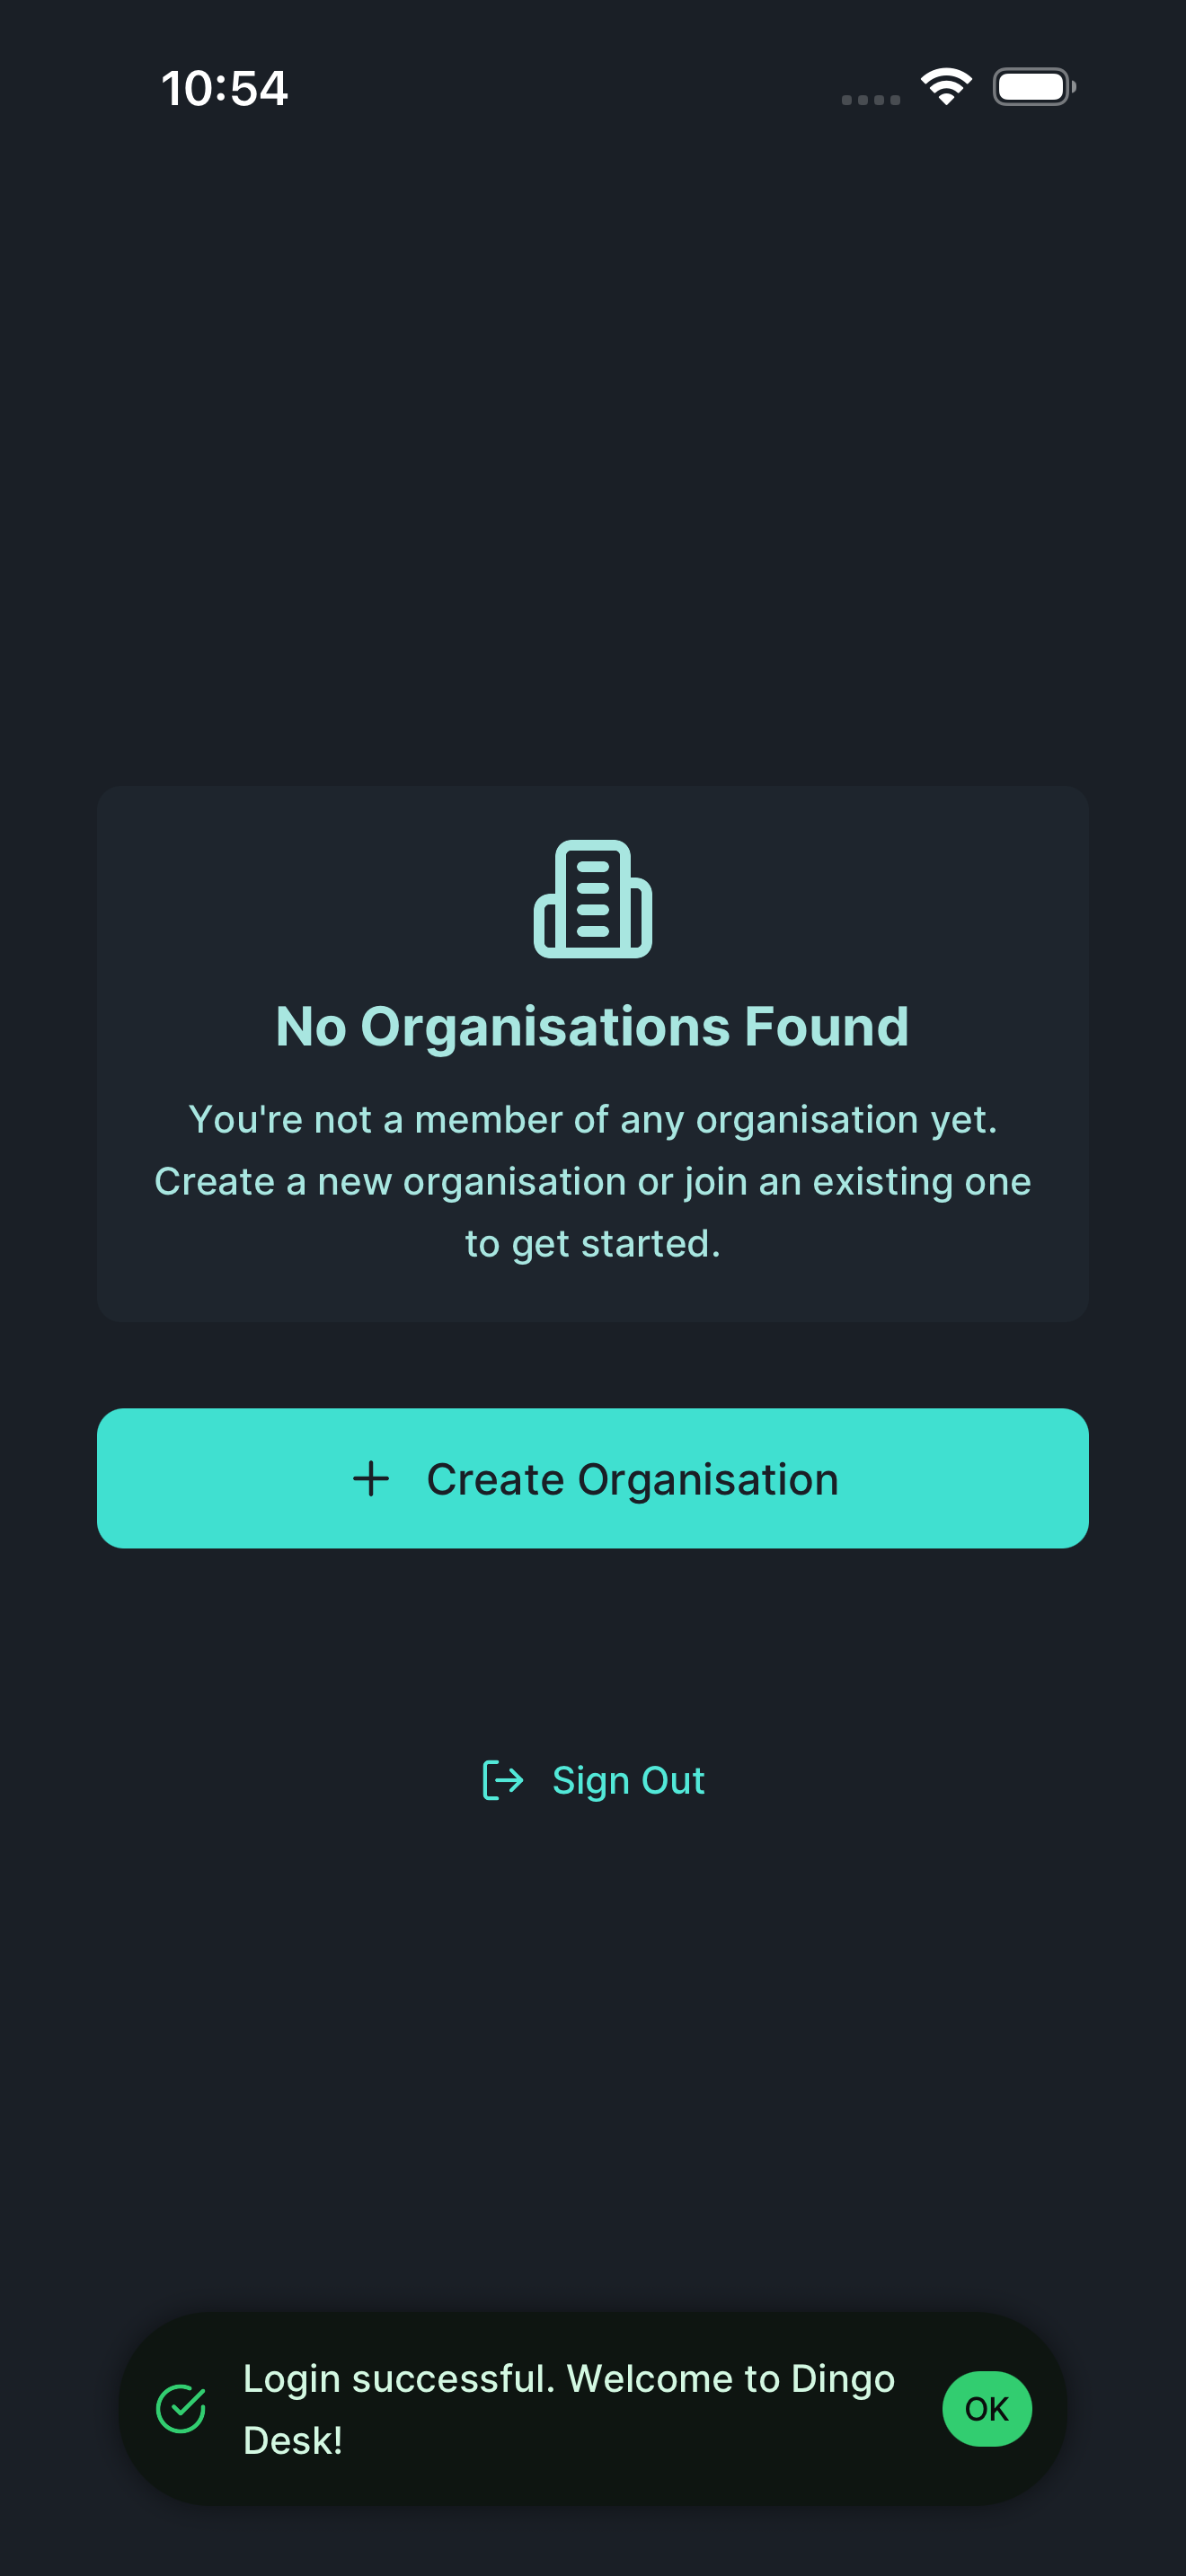
Section titled “Step 3: Create your organisation”When you first log in, you won’t have any organisations yet. Let’s create one.
You’ll see the “No organisations” screen. Tap “Create Organisation” to get started.
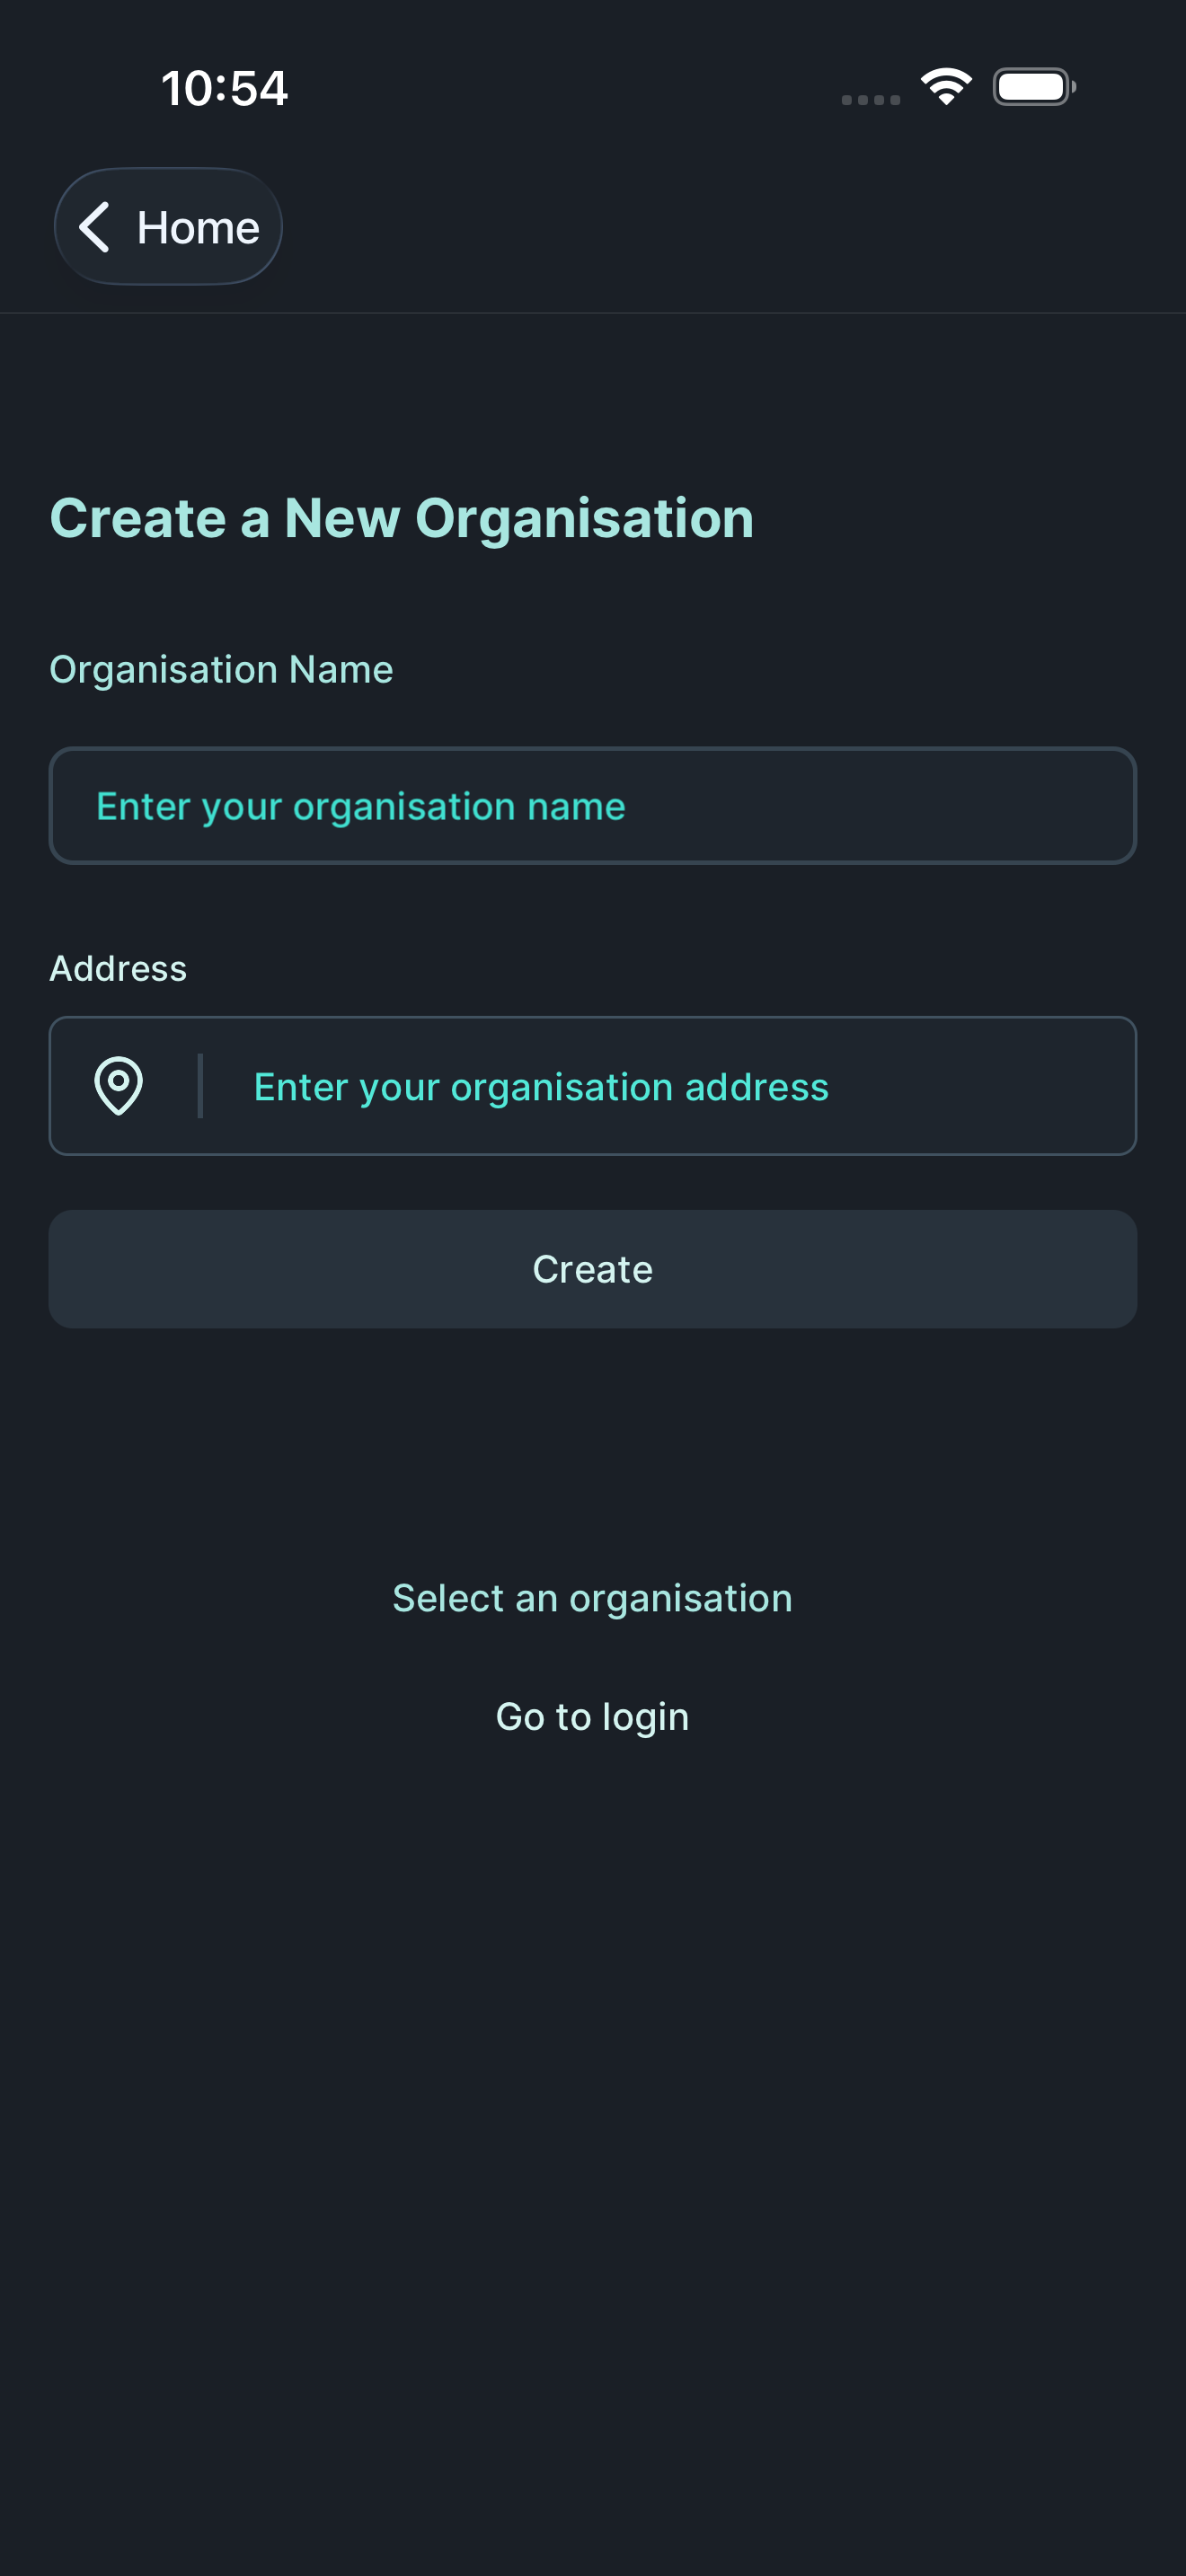
Enter your organisation details:
- Organisation name: Your company or business name
- Organisation address: Your business address

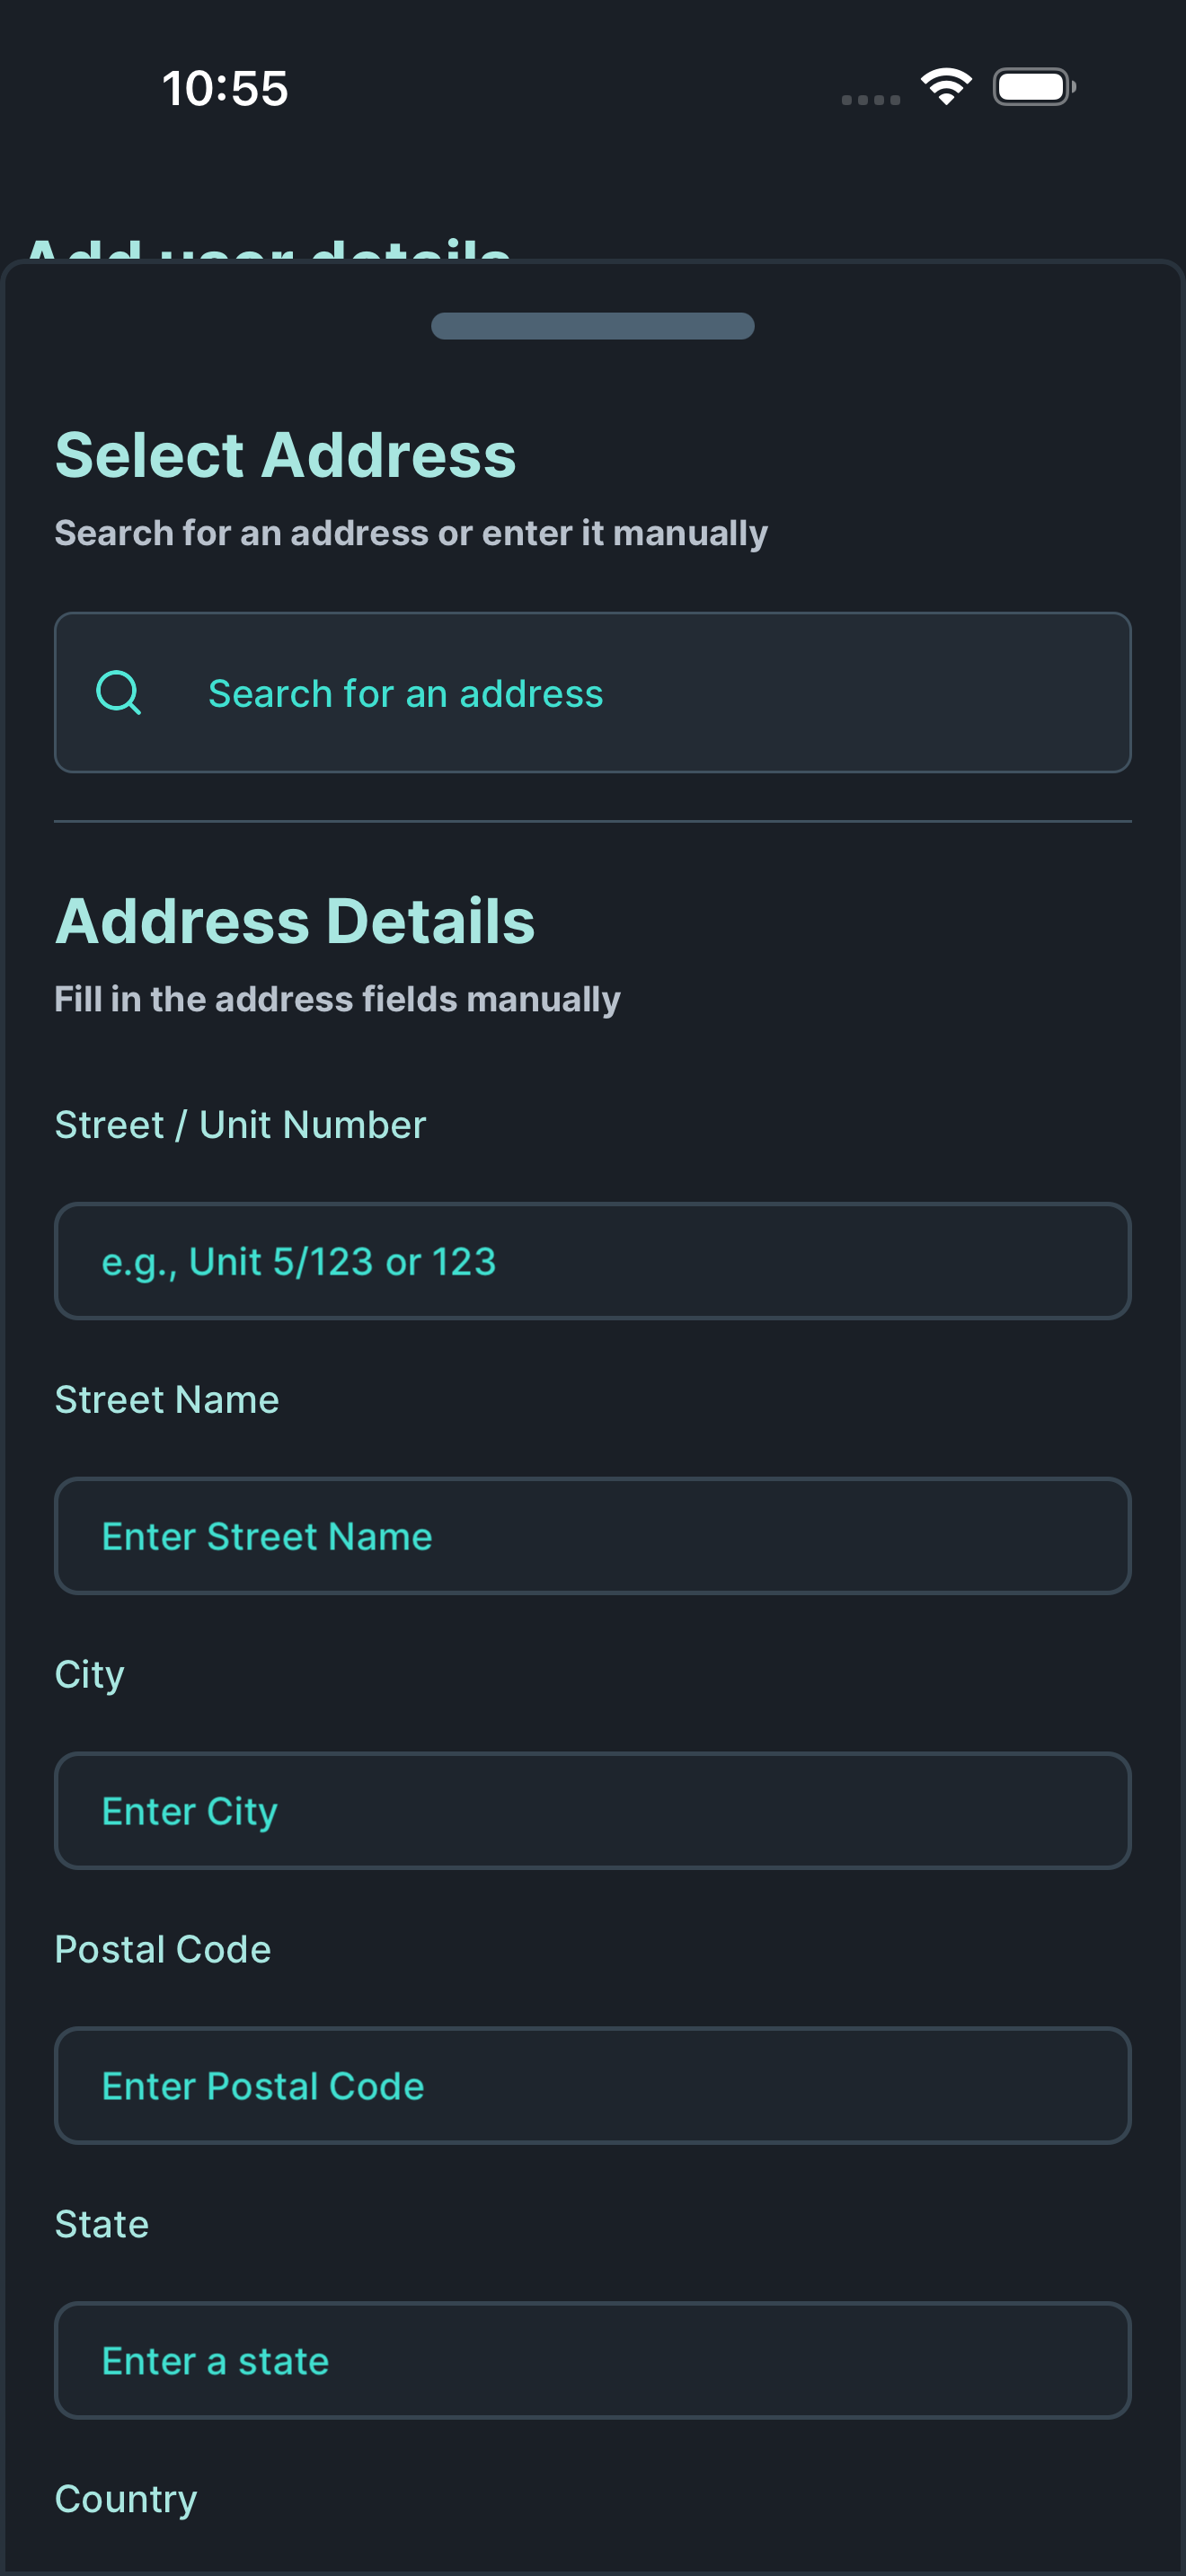
Adding your organisation address
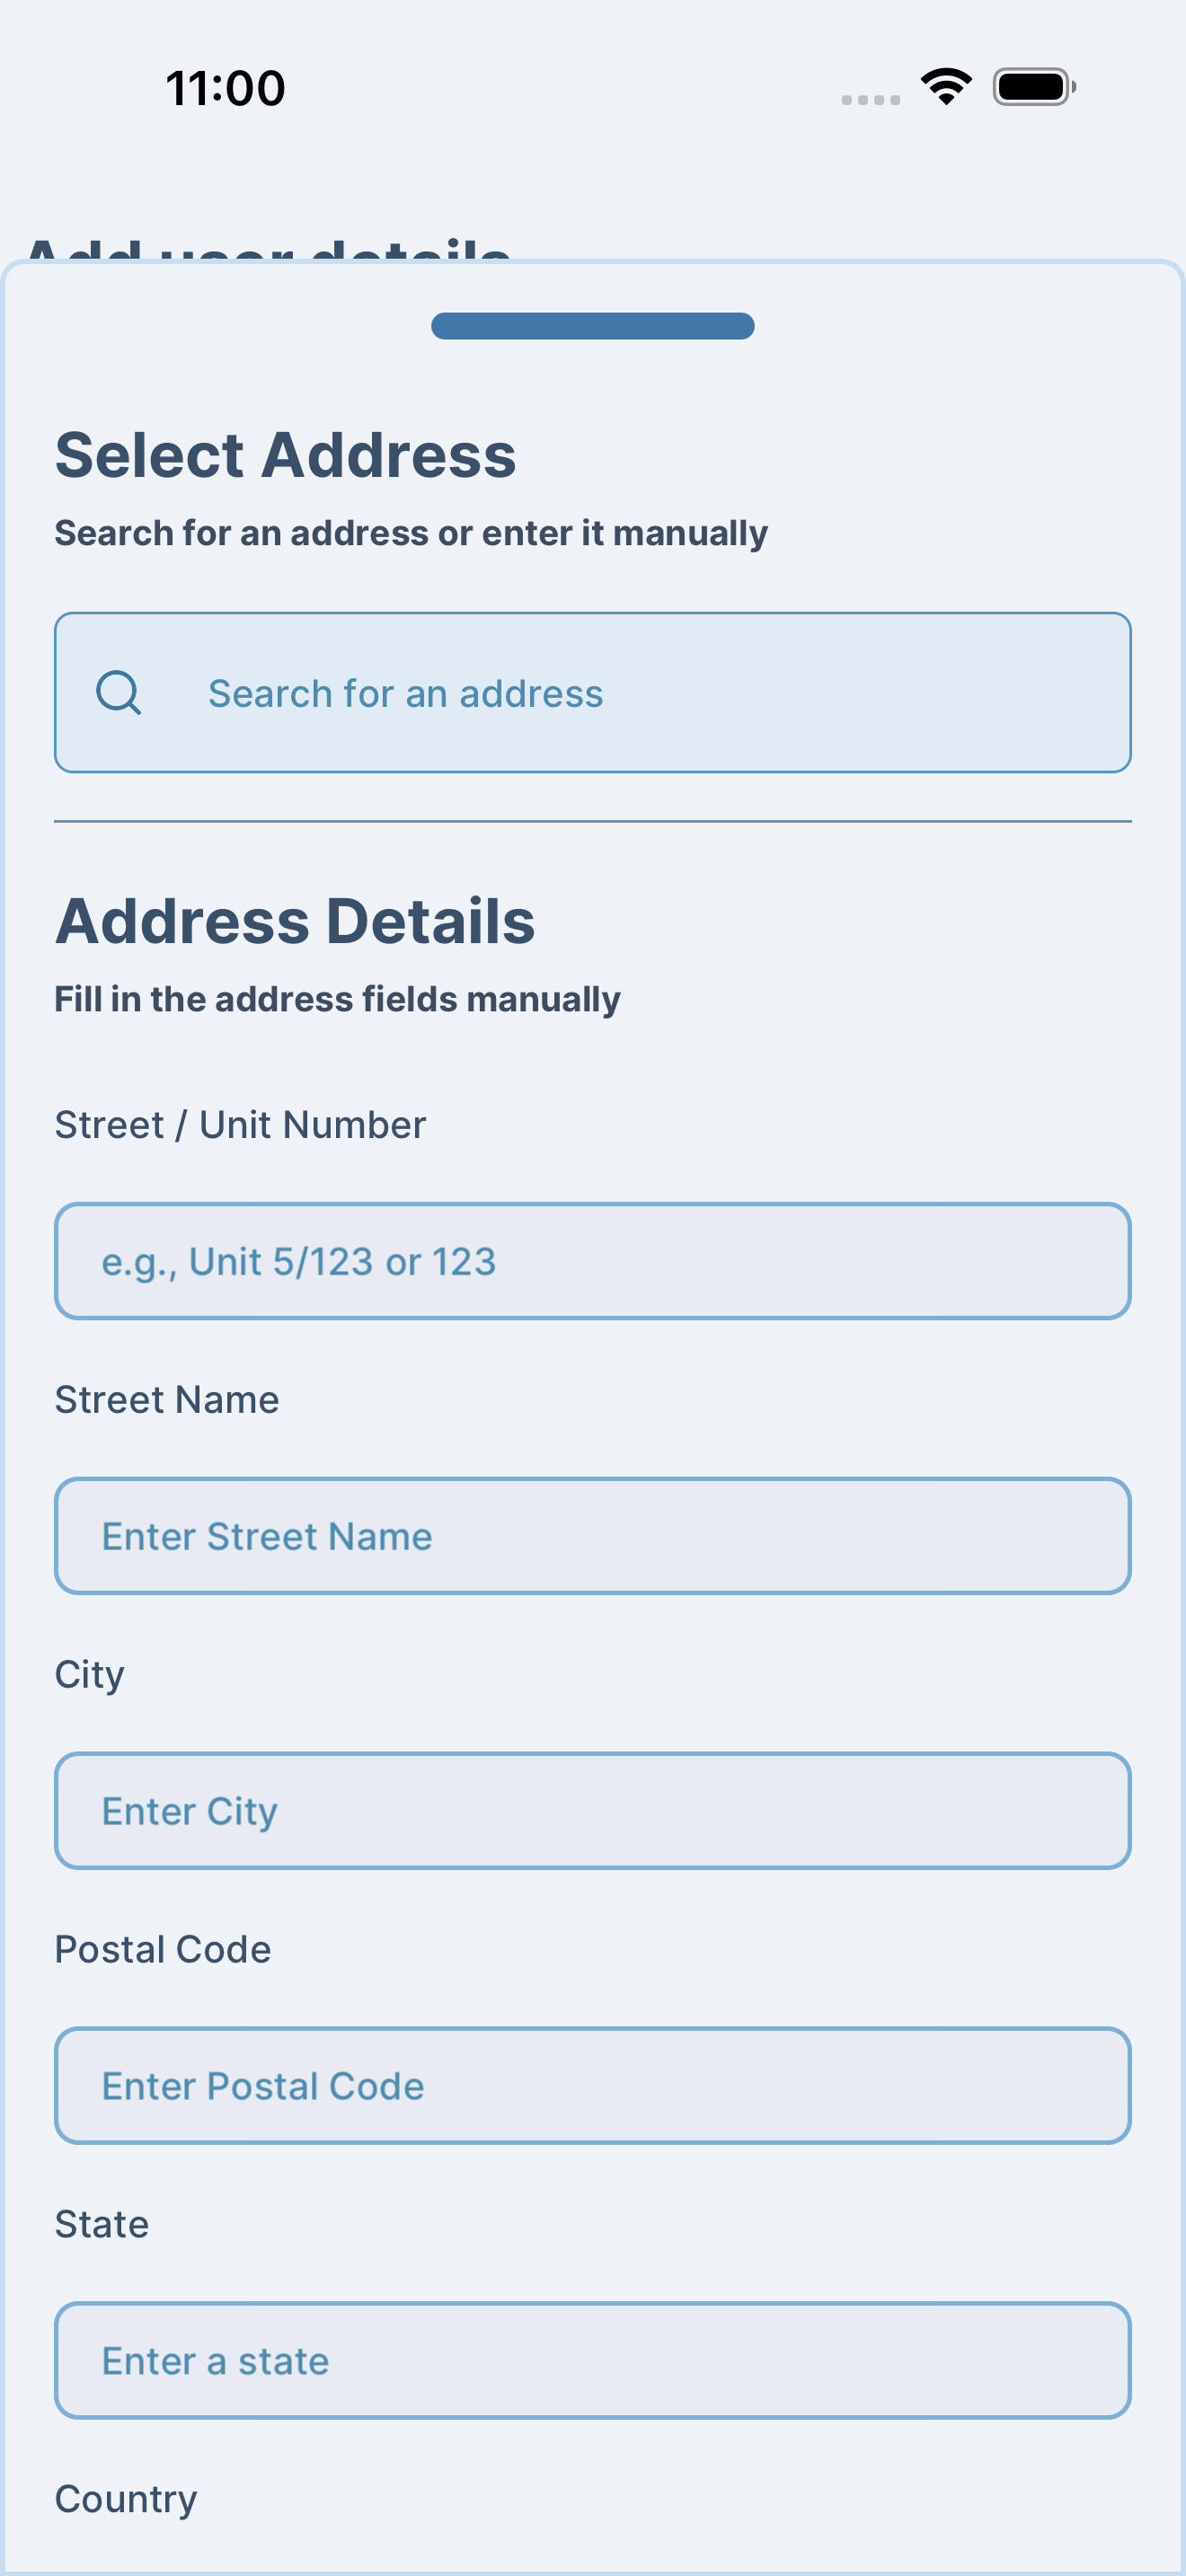
Section titled “Adding your organisation address”Tap on “Enter your organisation address” to search for your address.
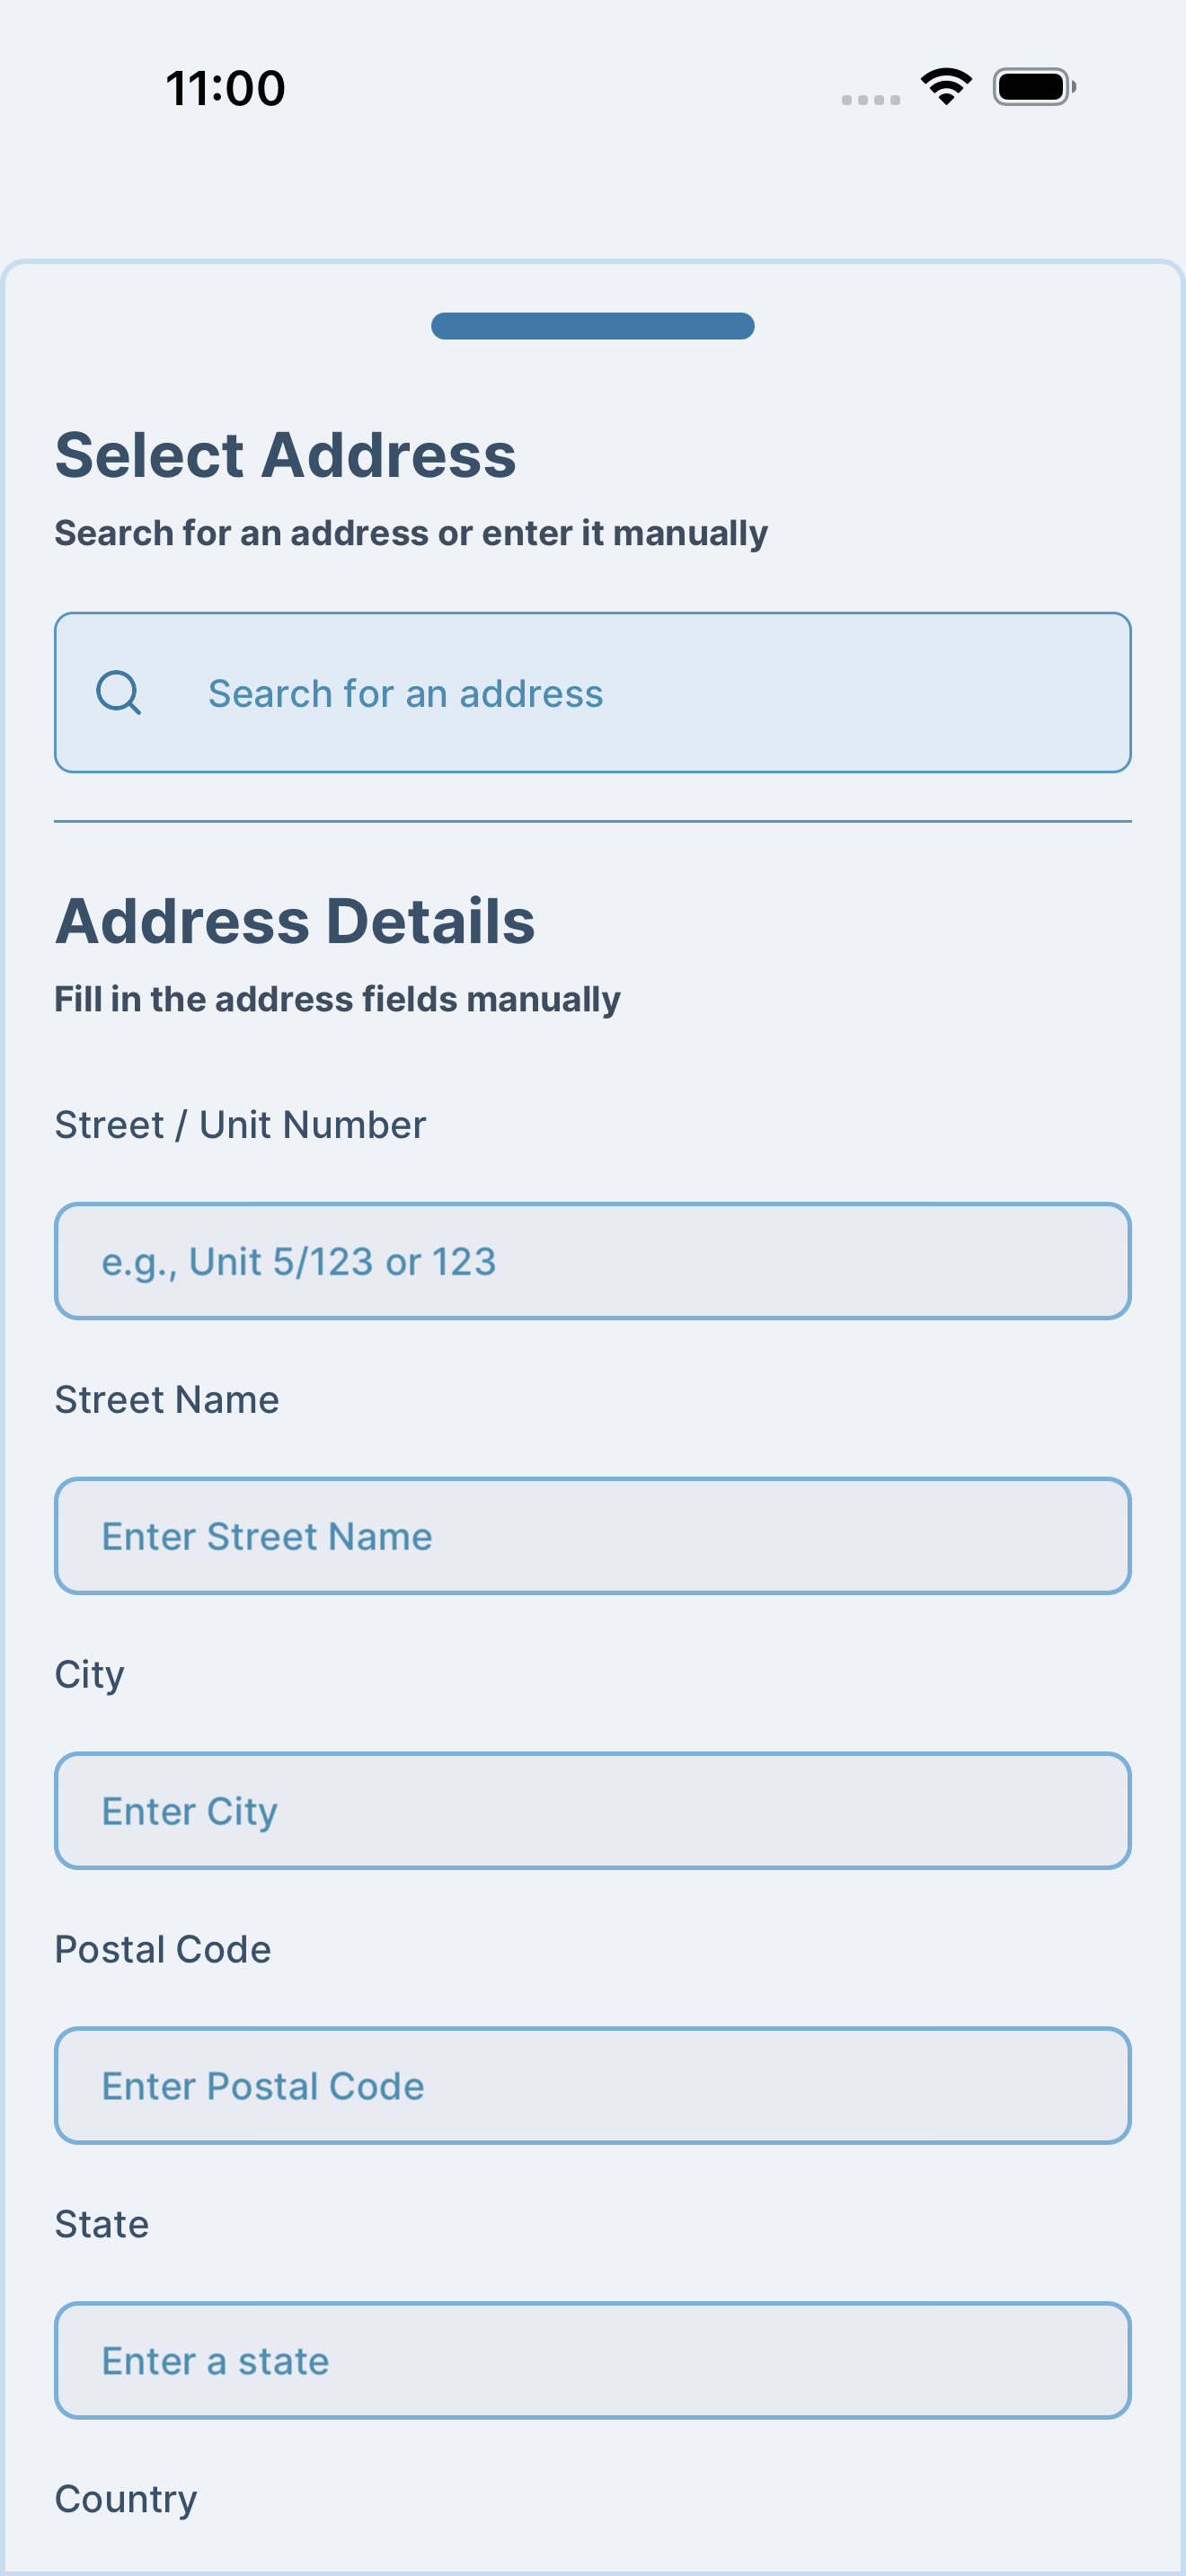
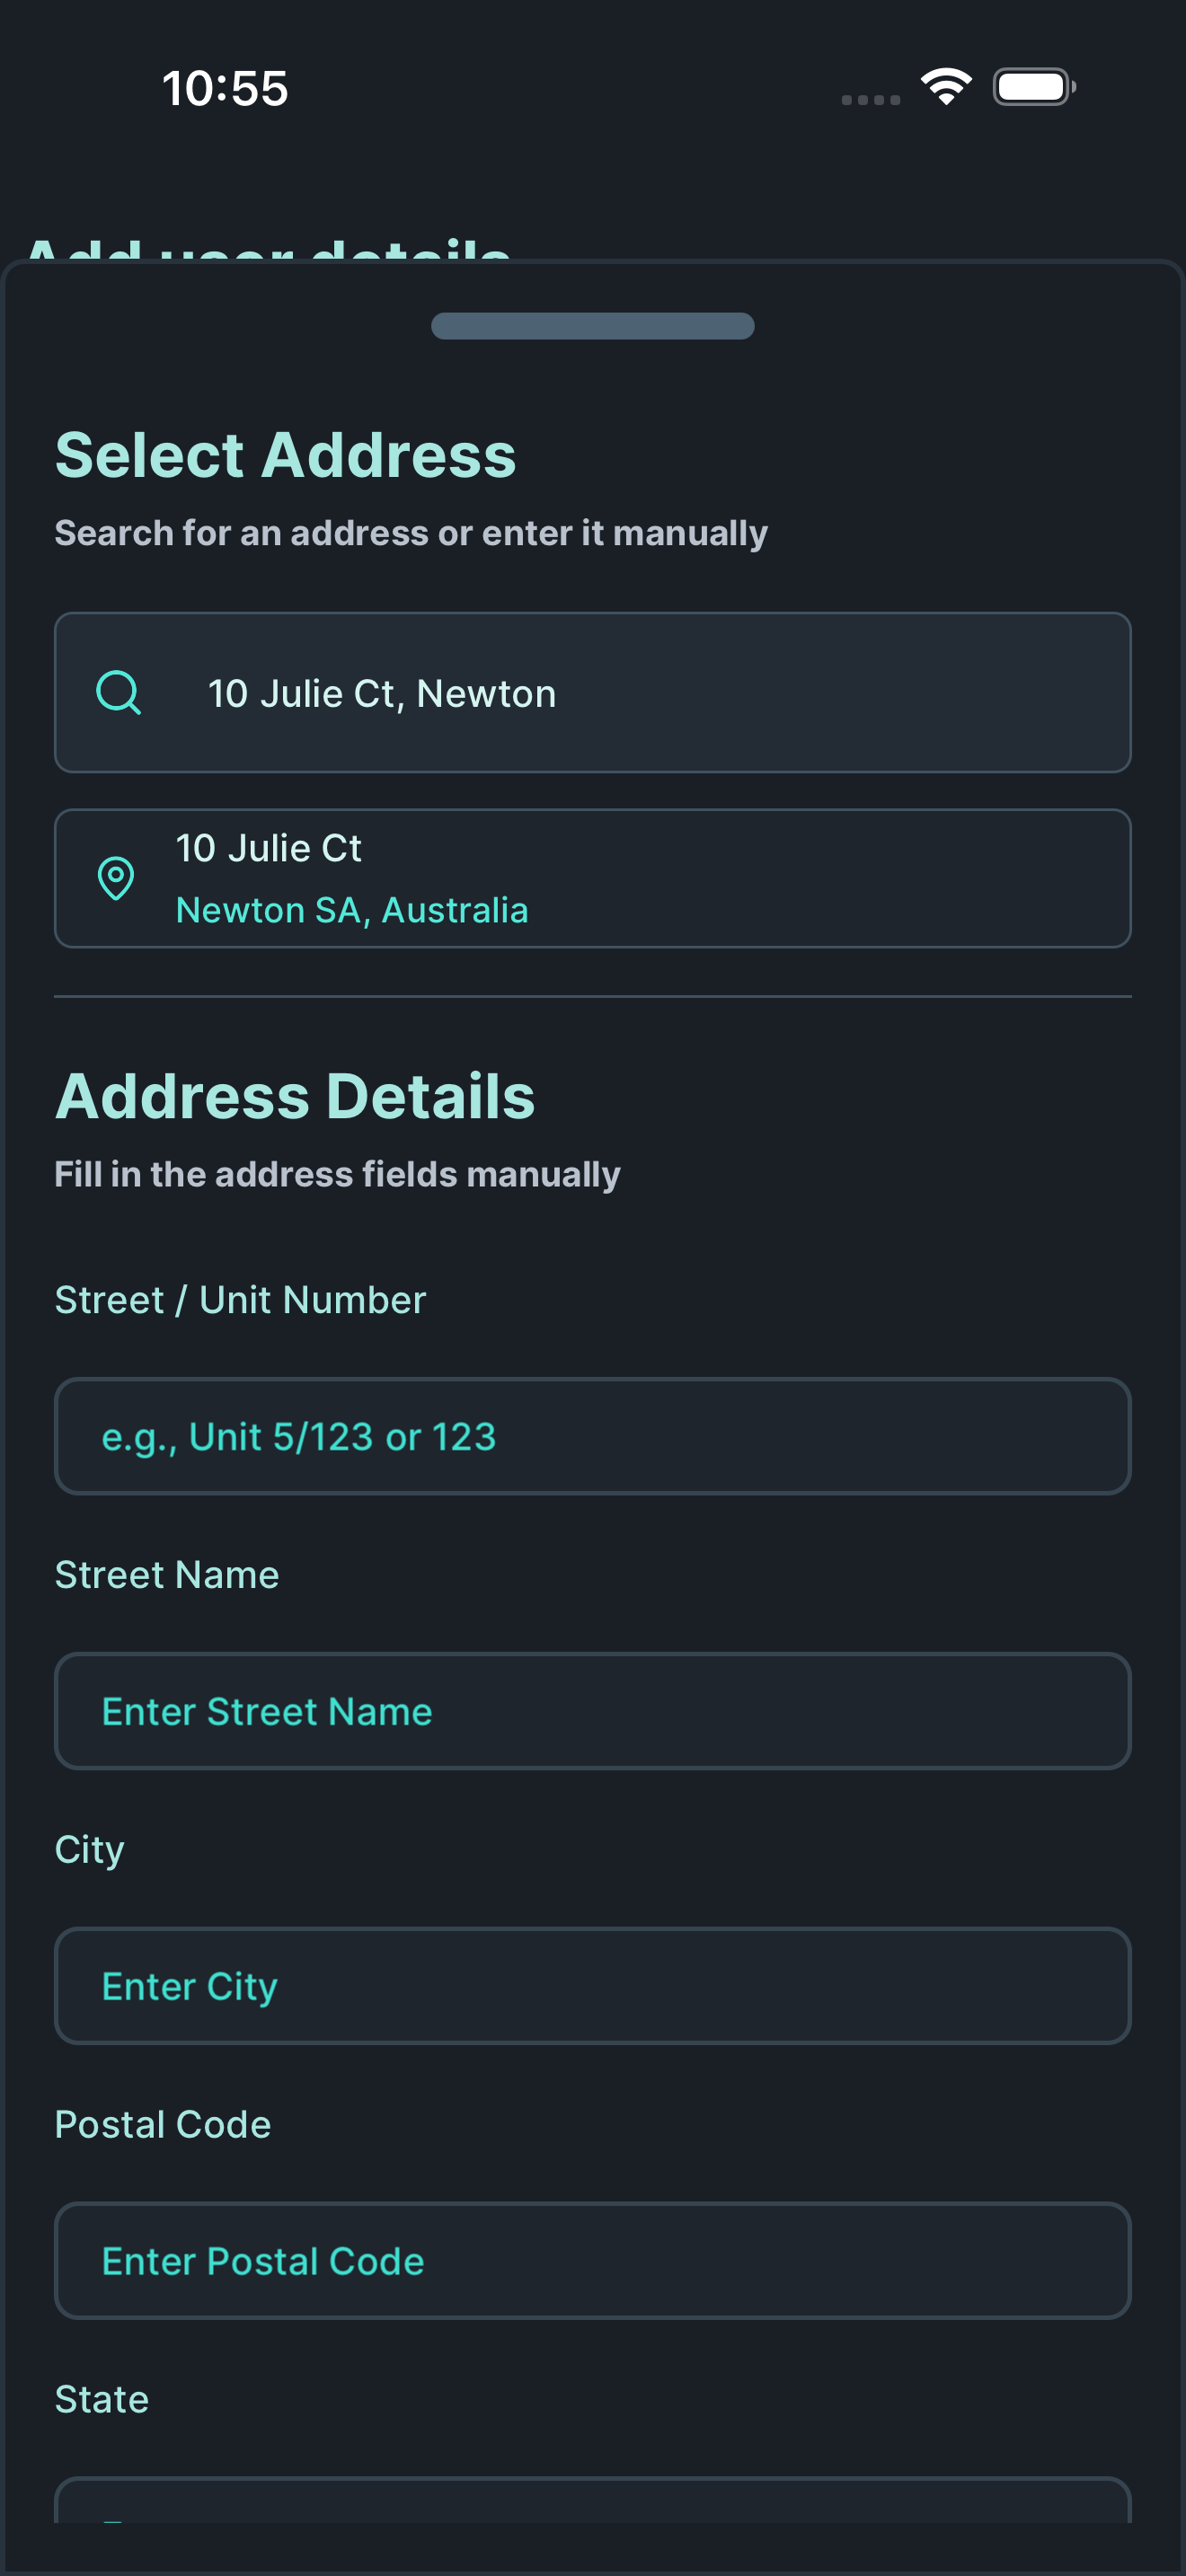
Start typing your address. The app will show matching suggestions as you type.

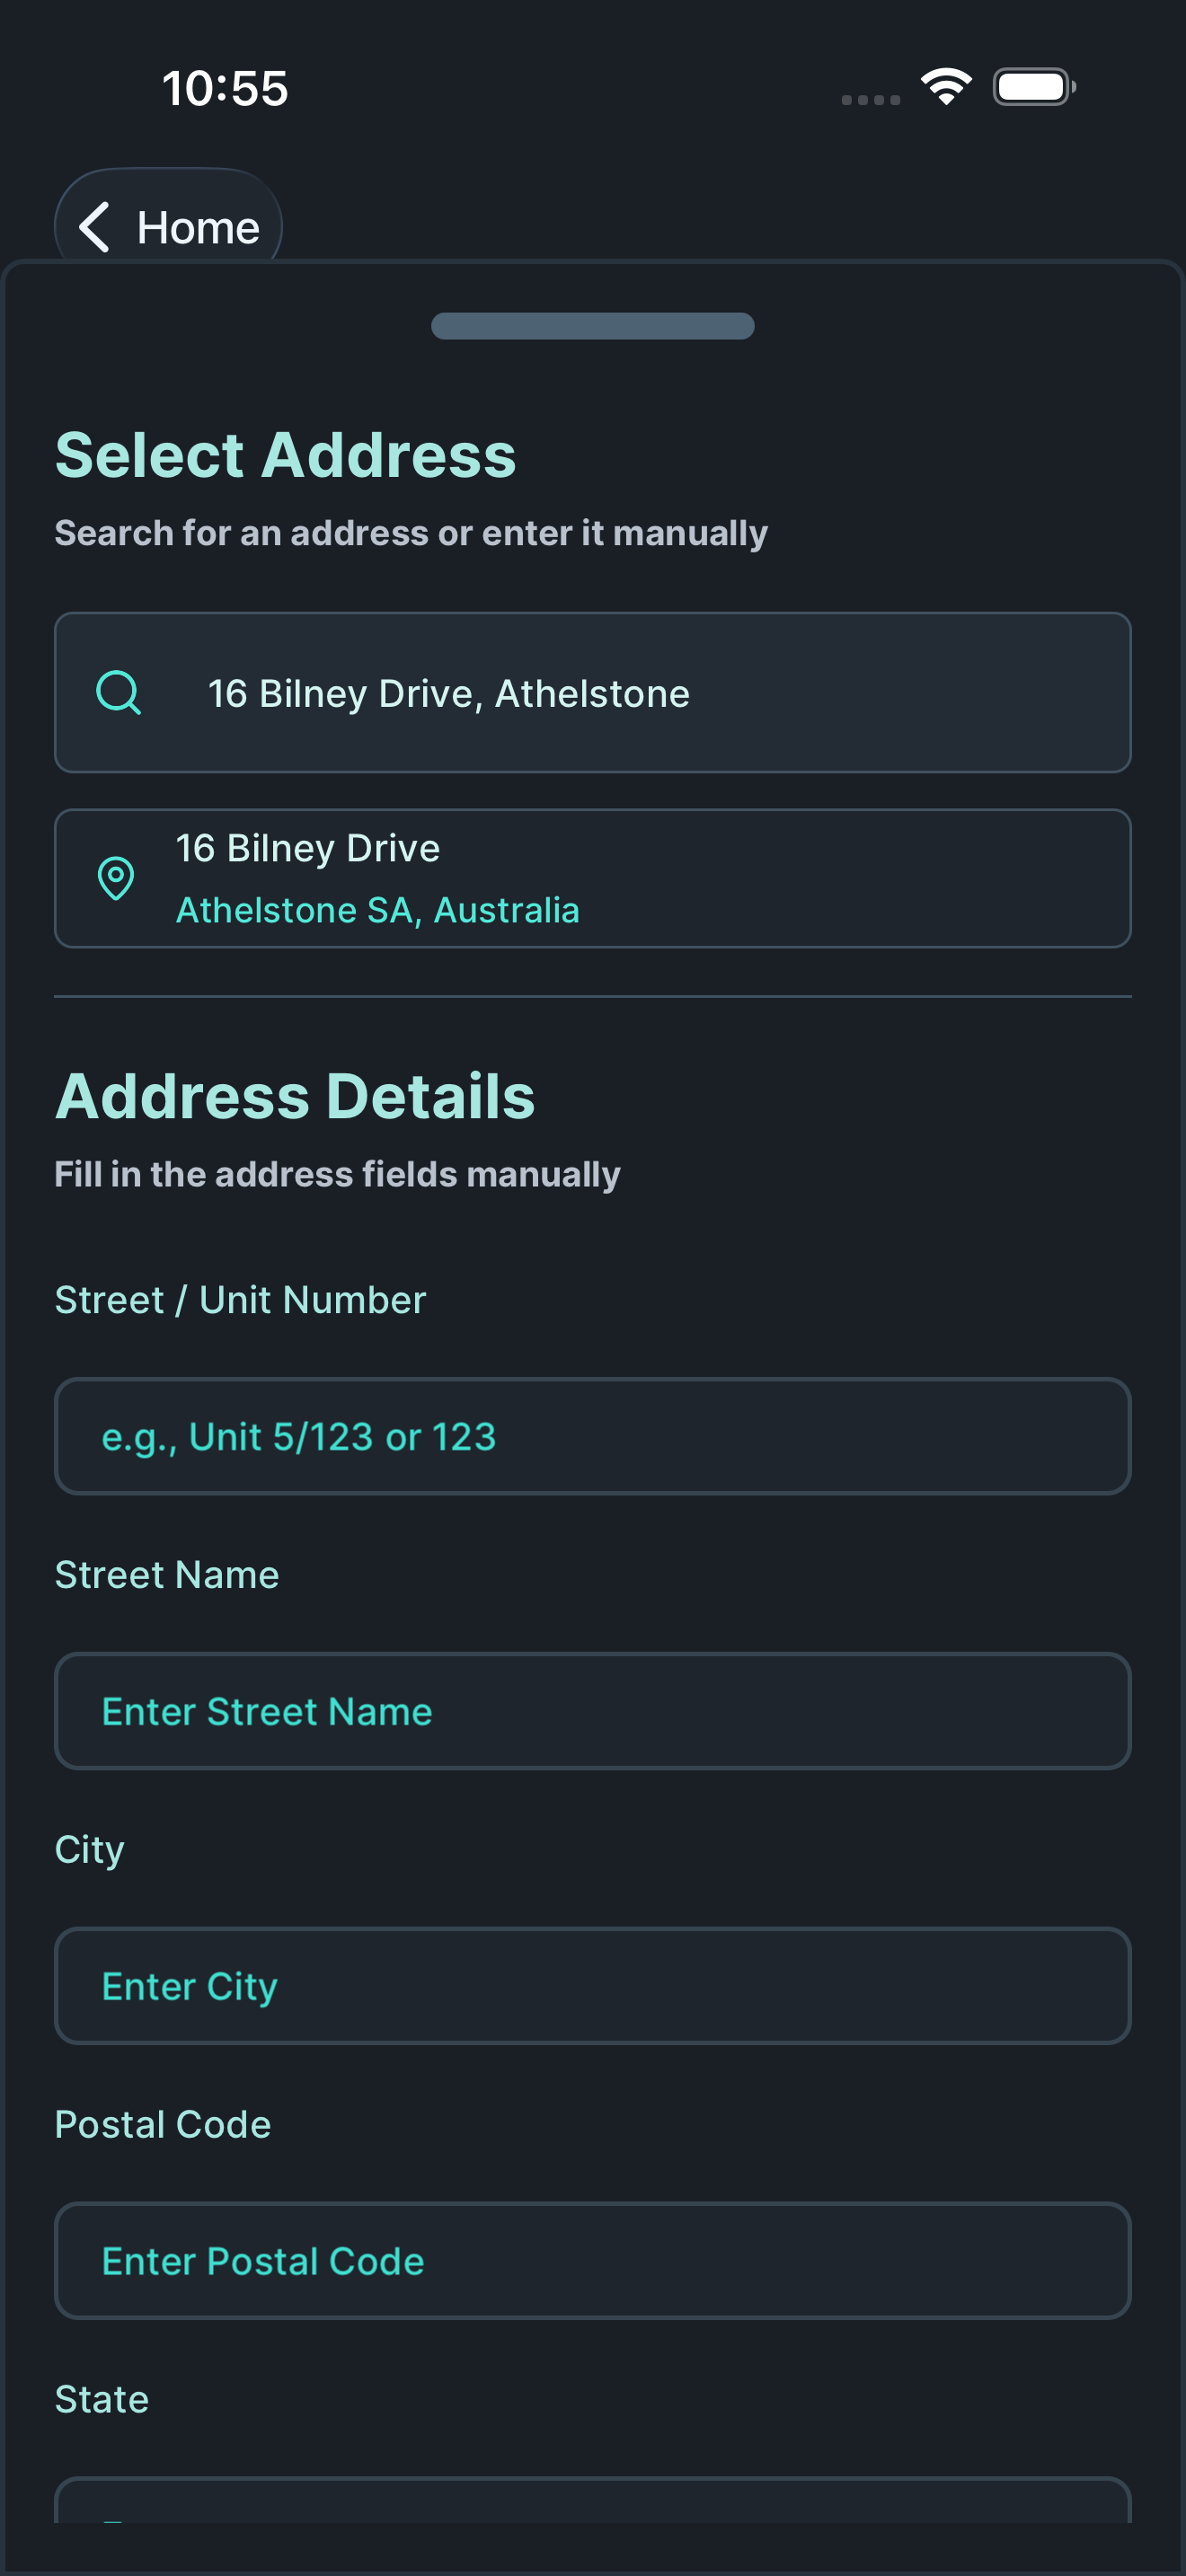
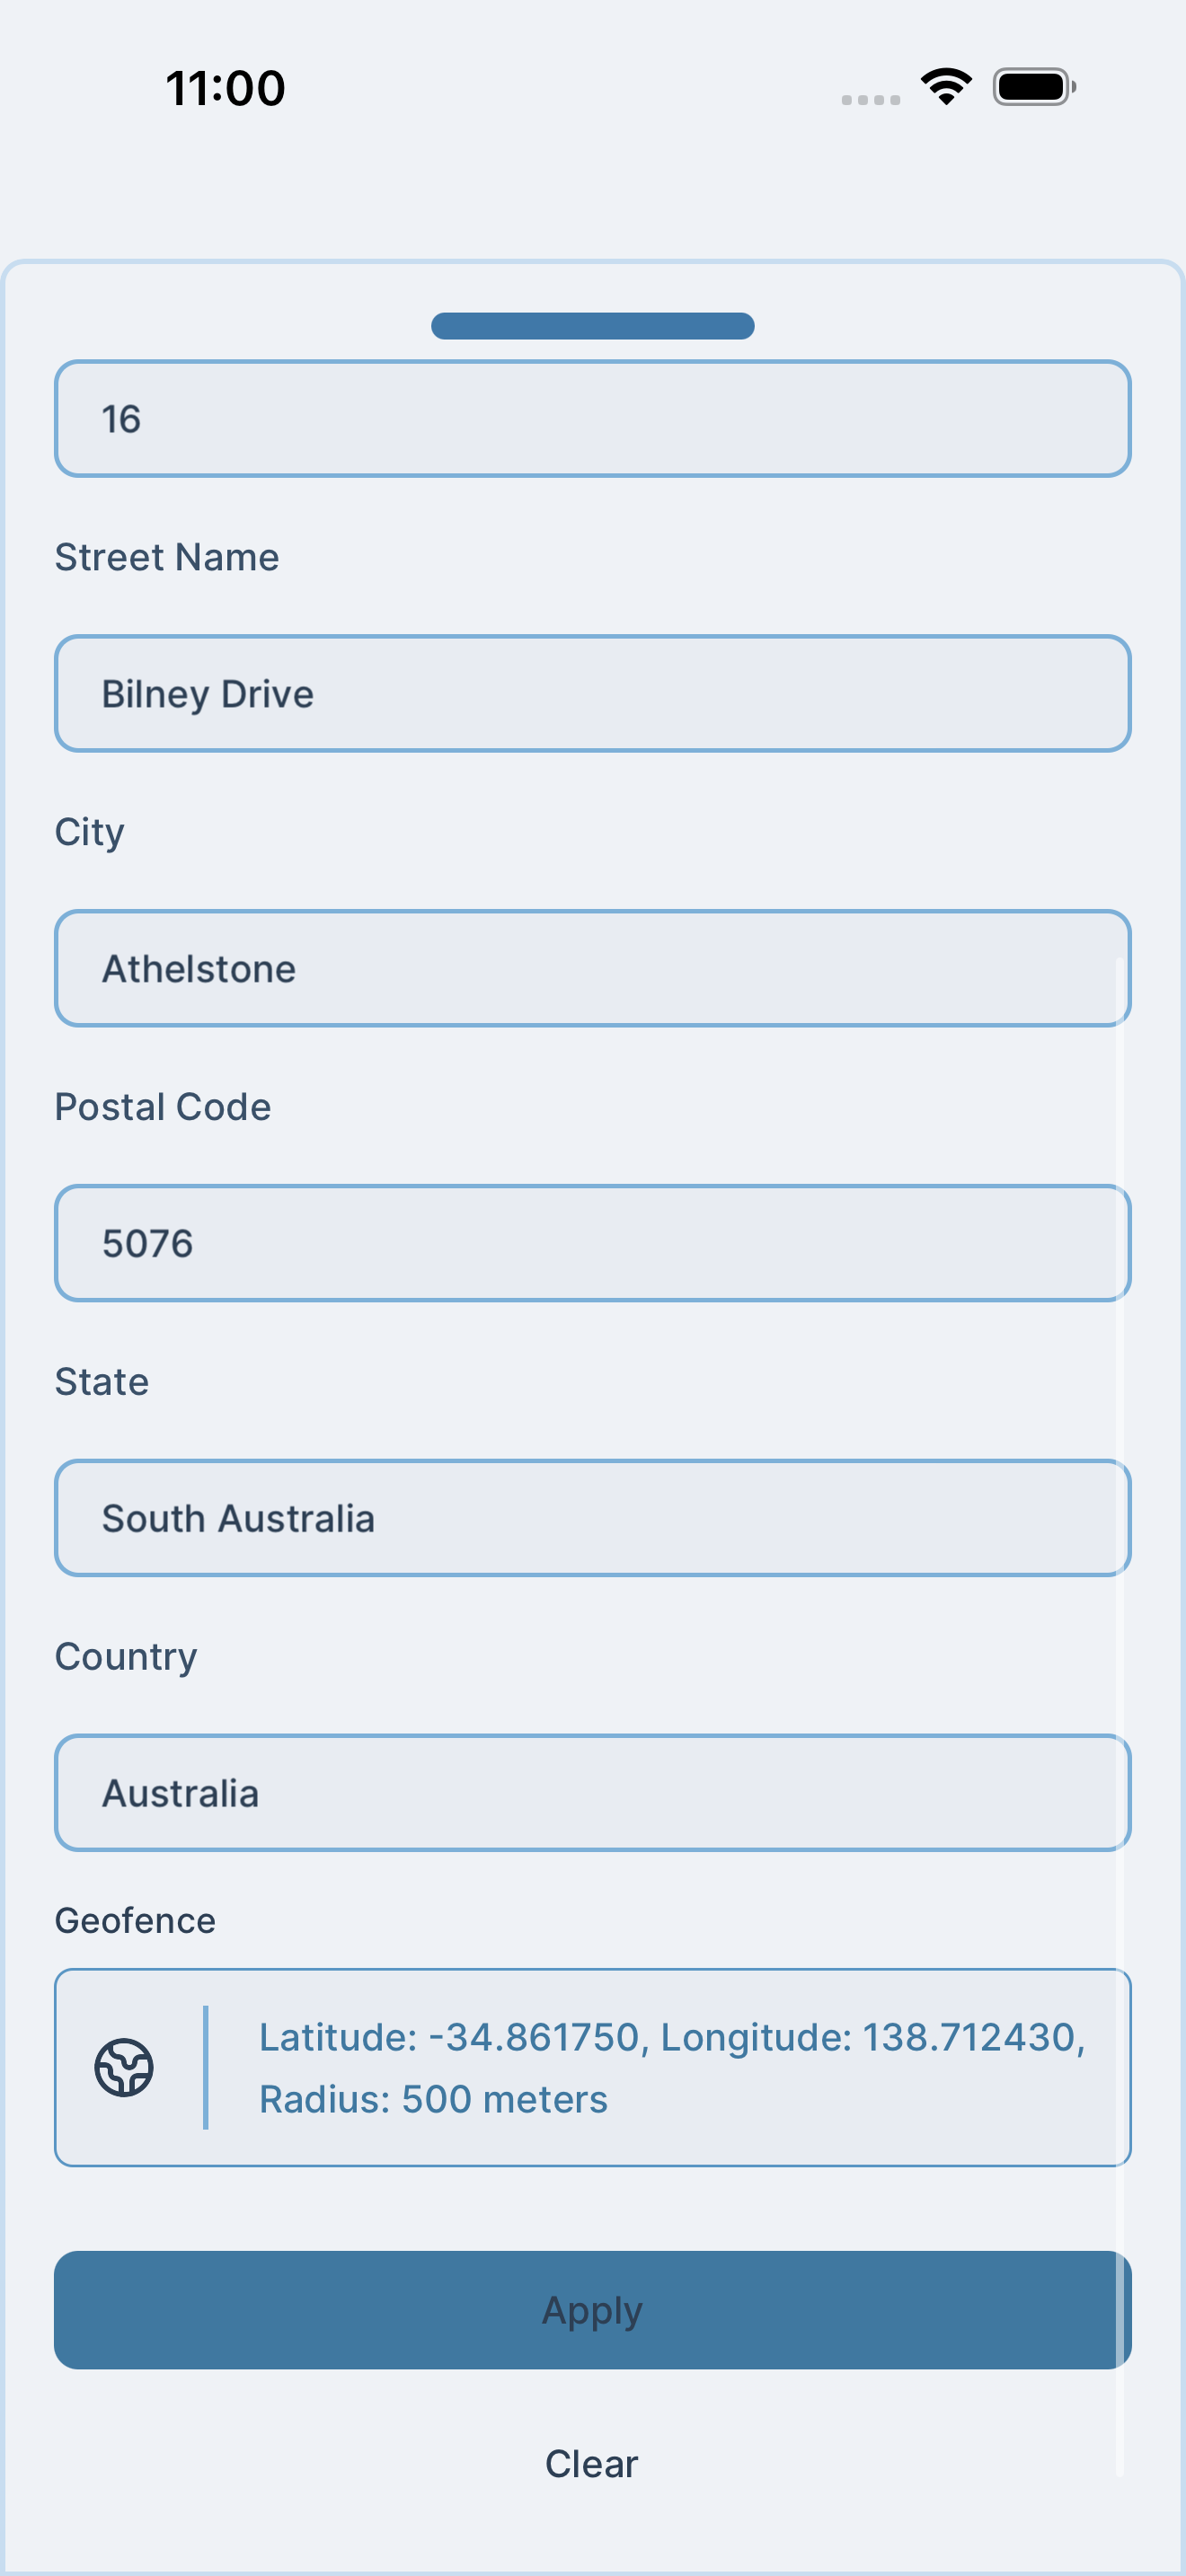
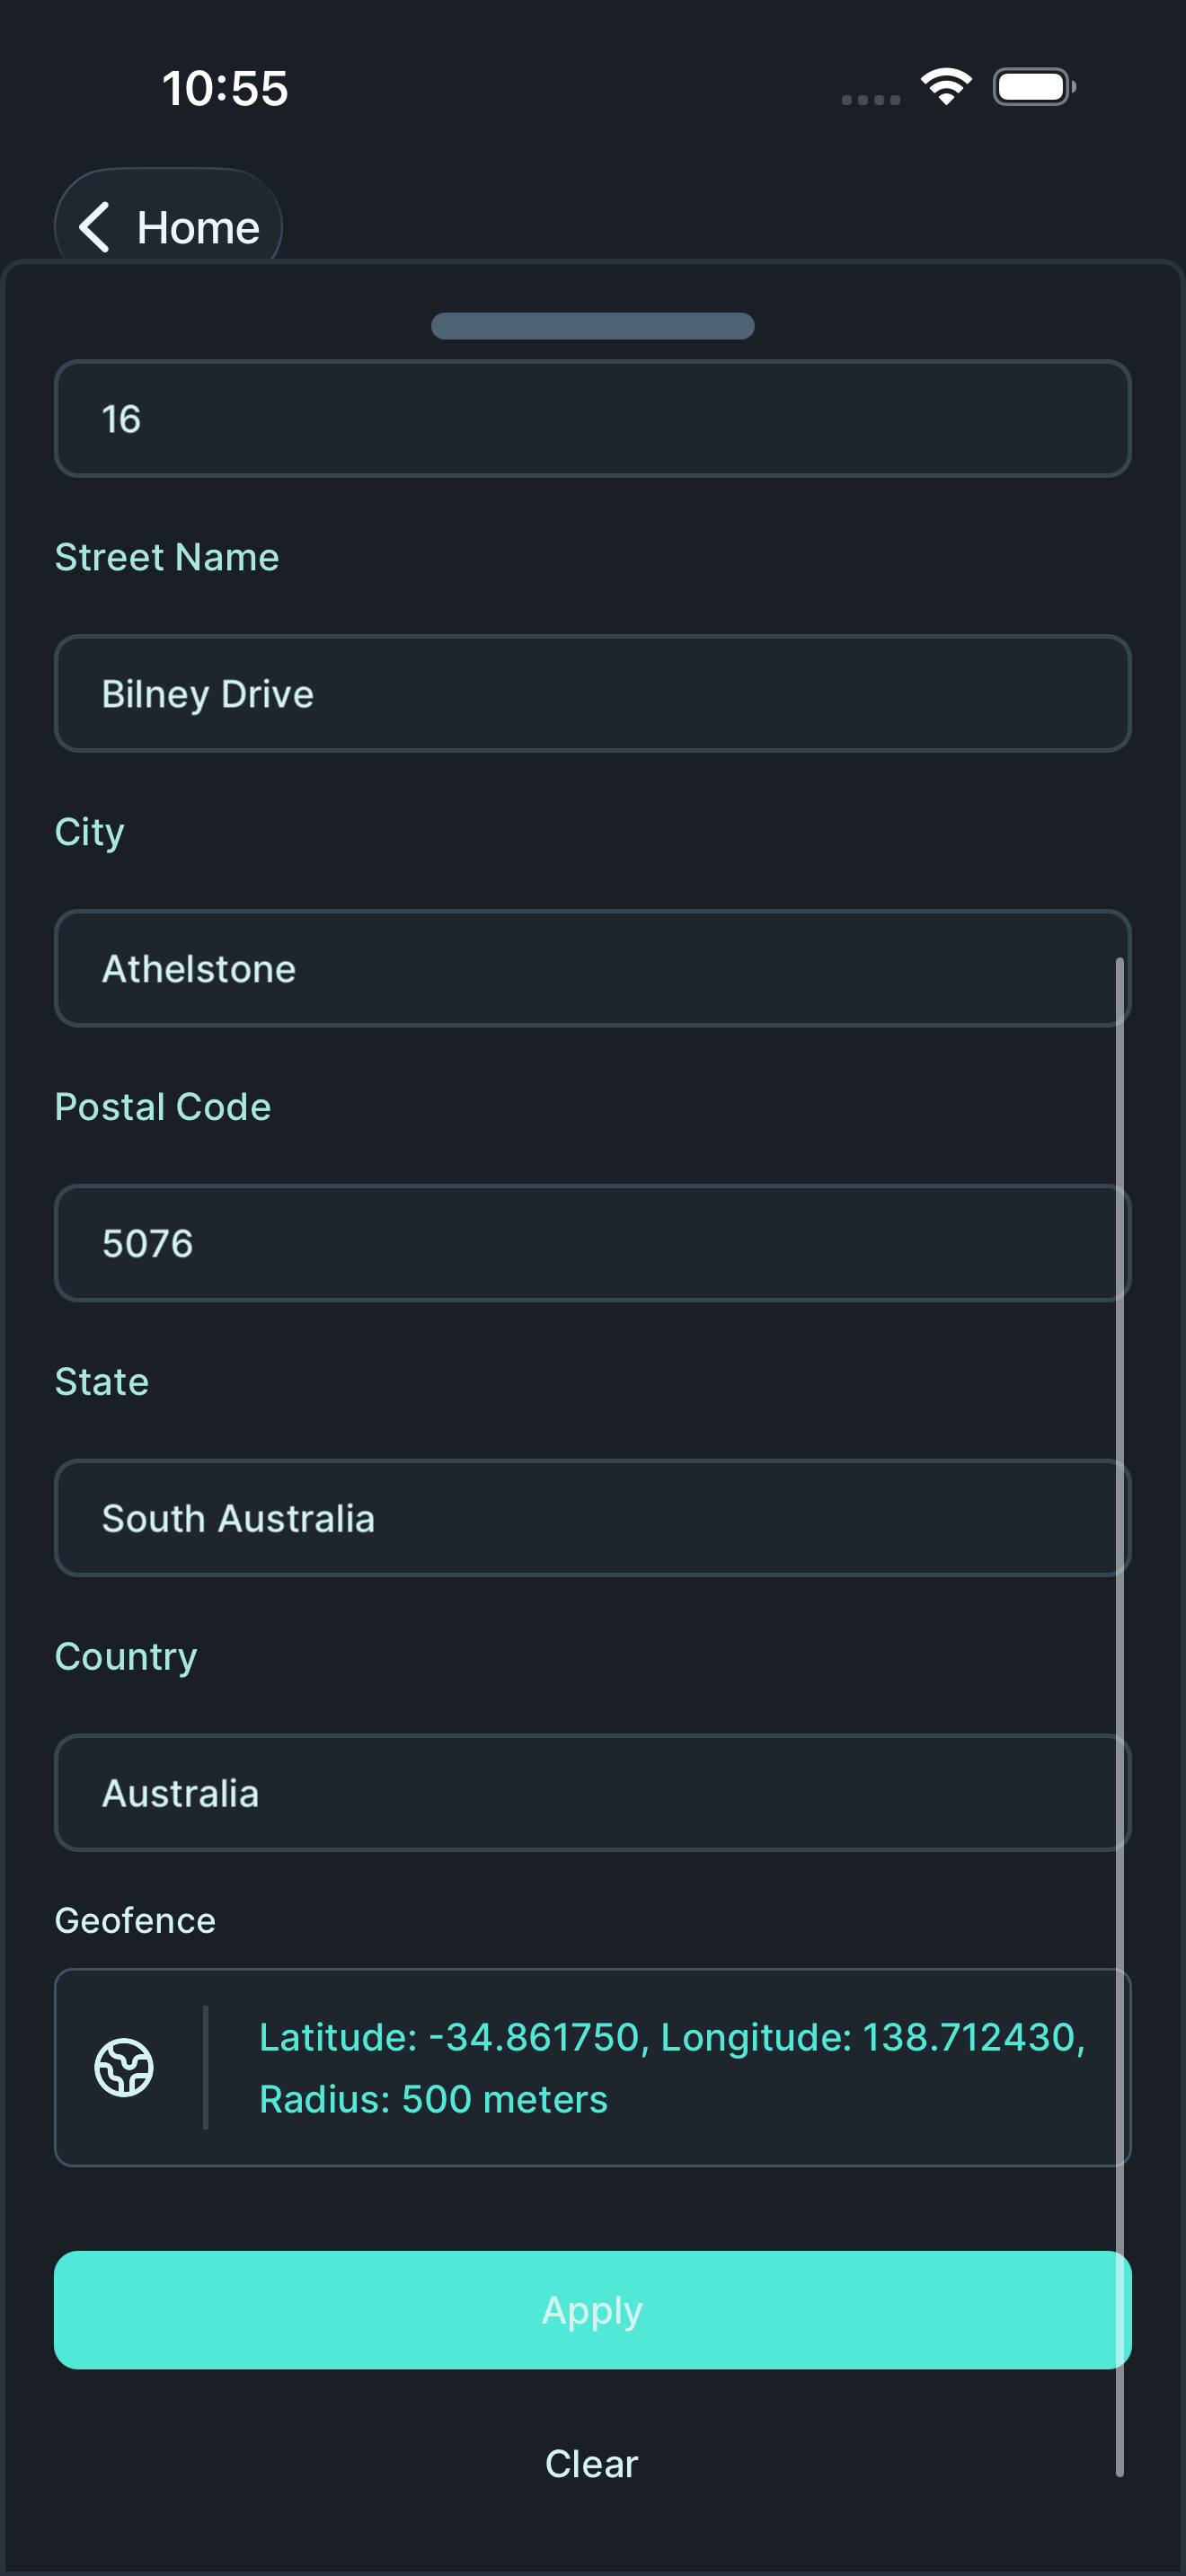
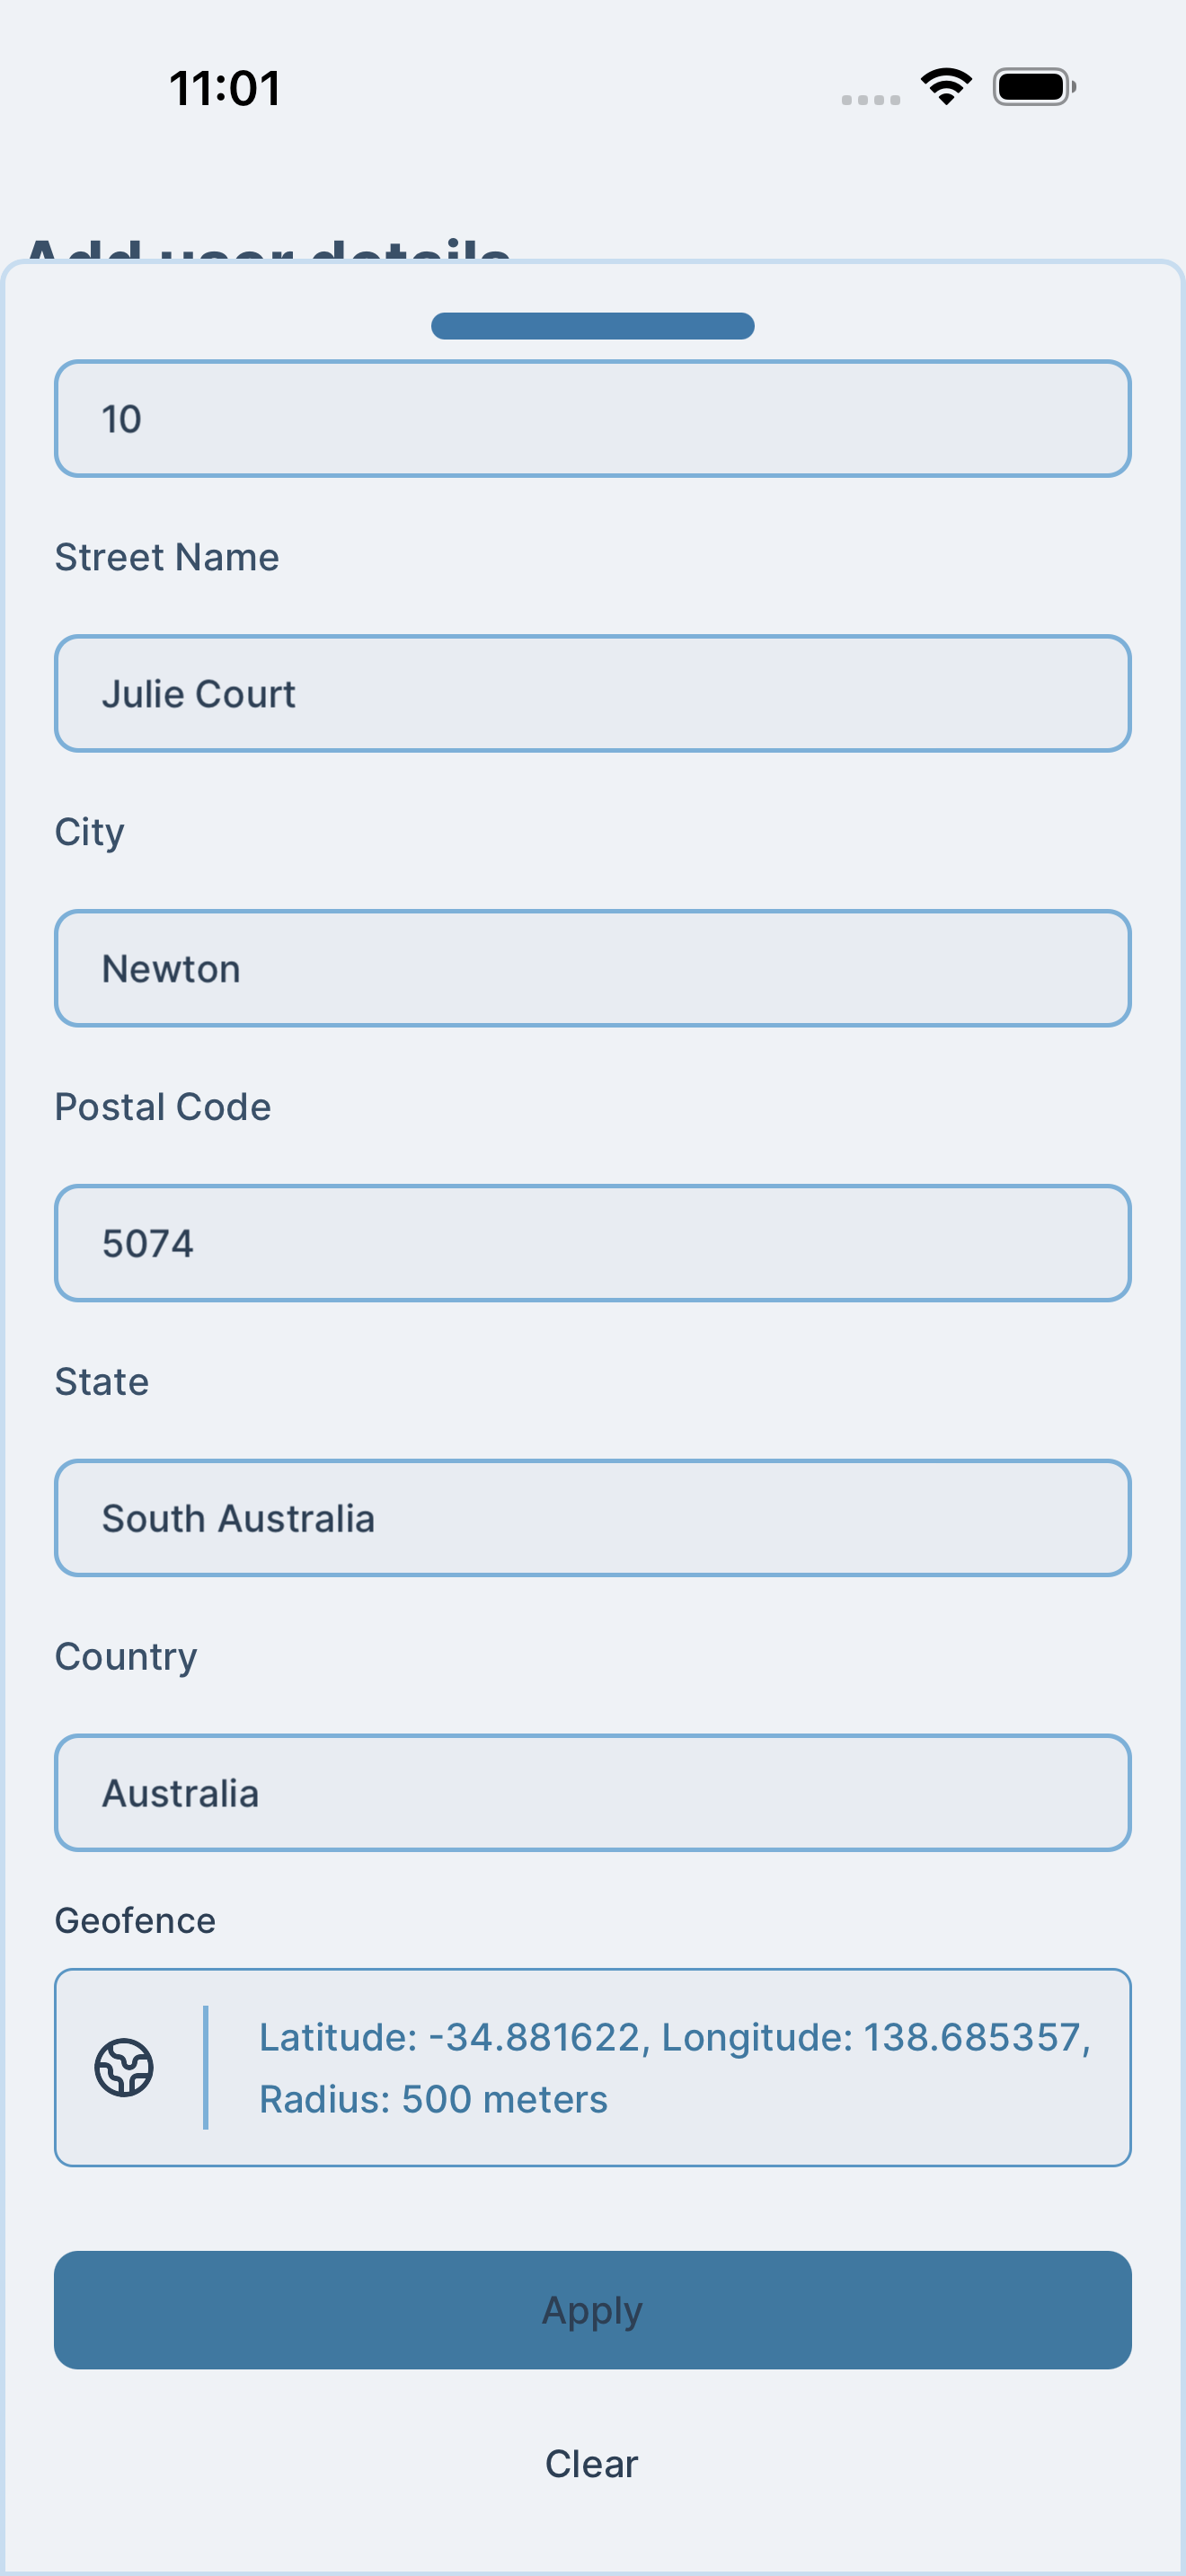
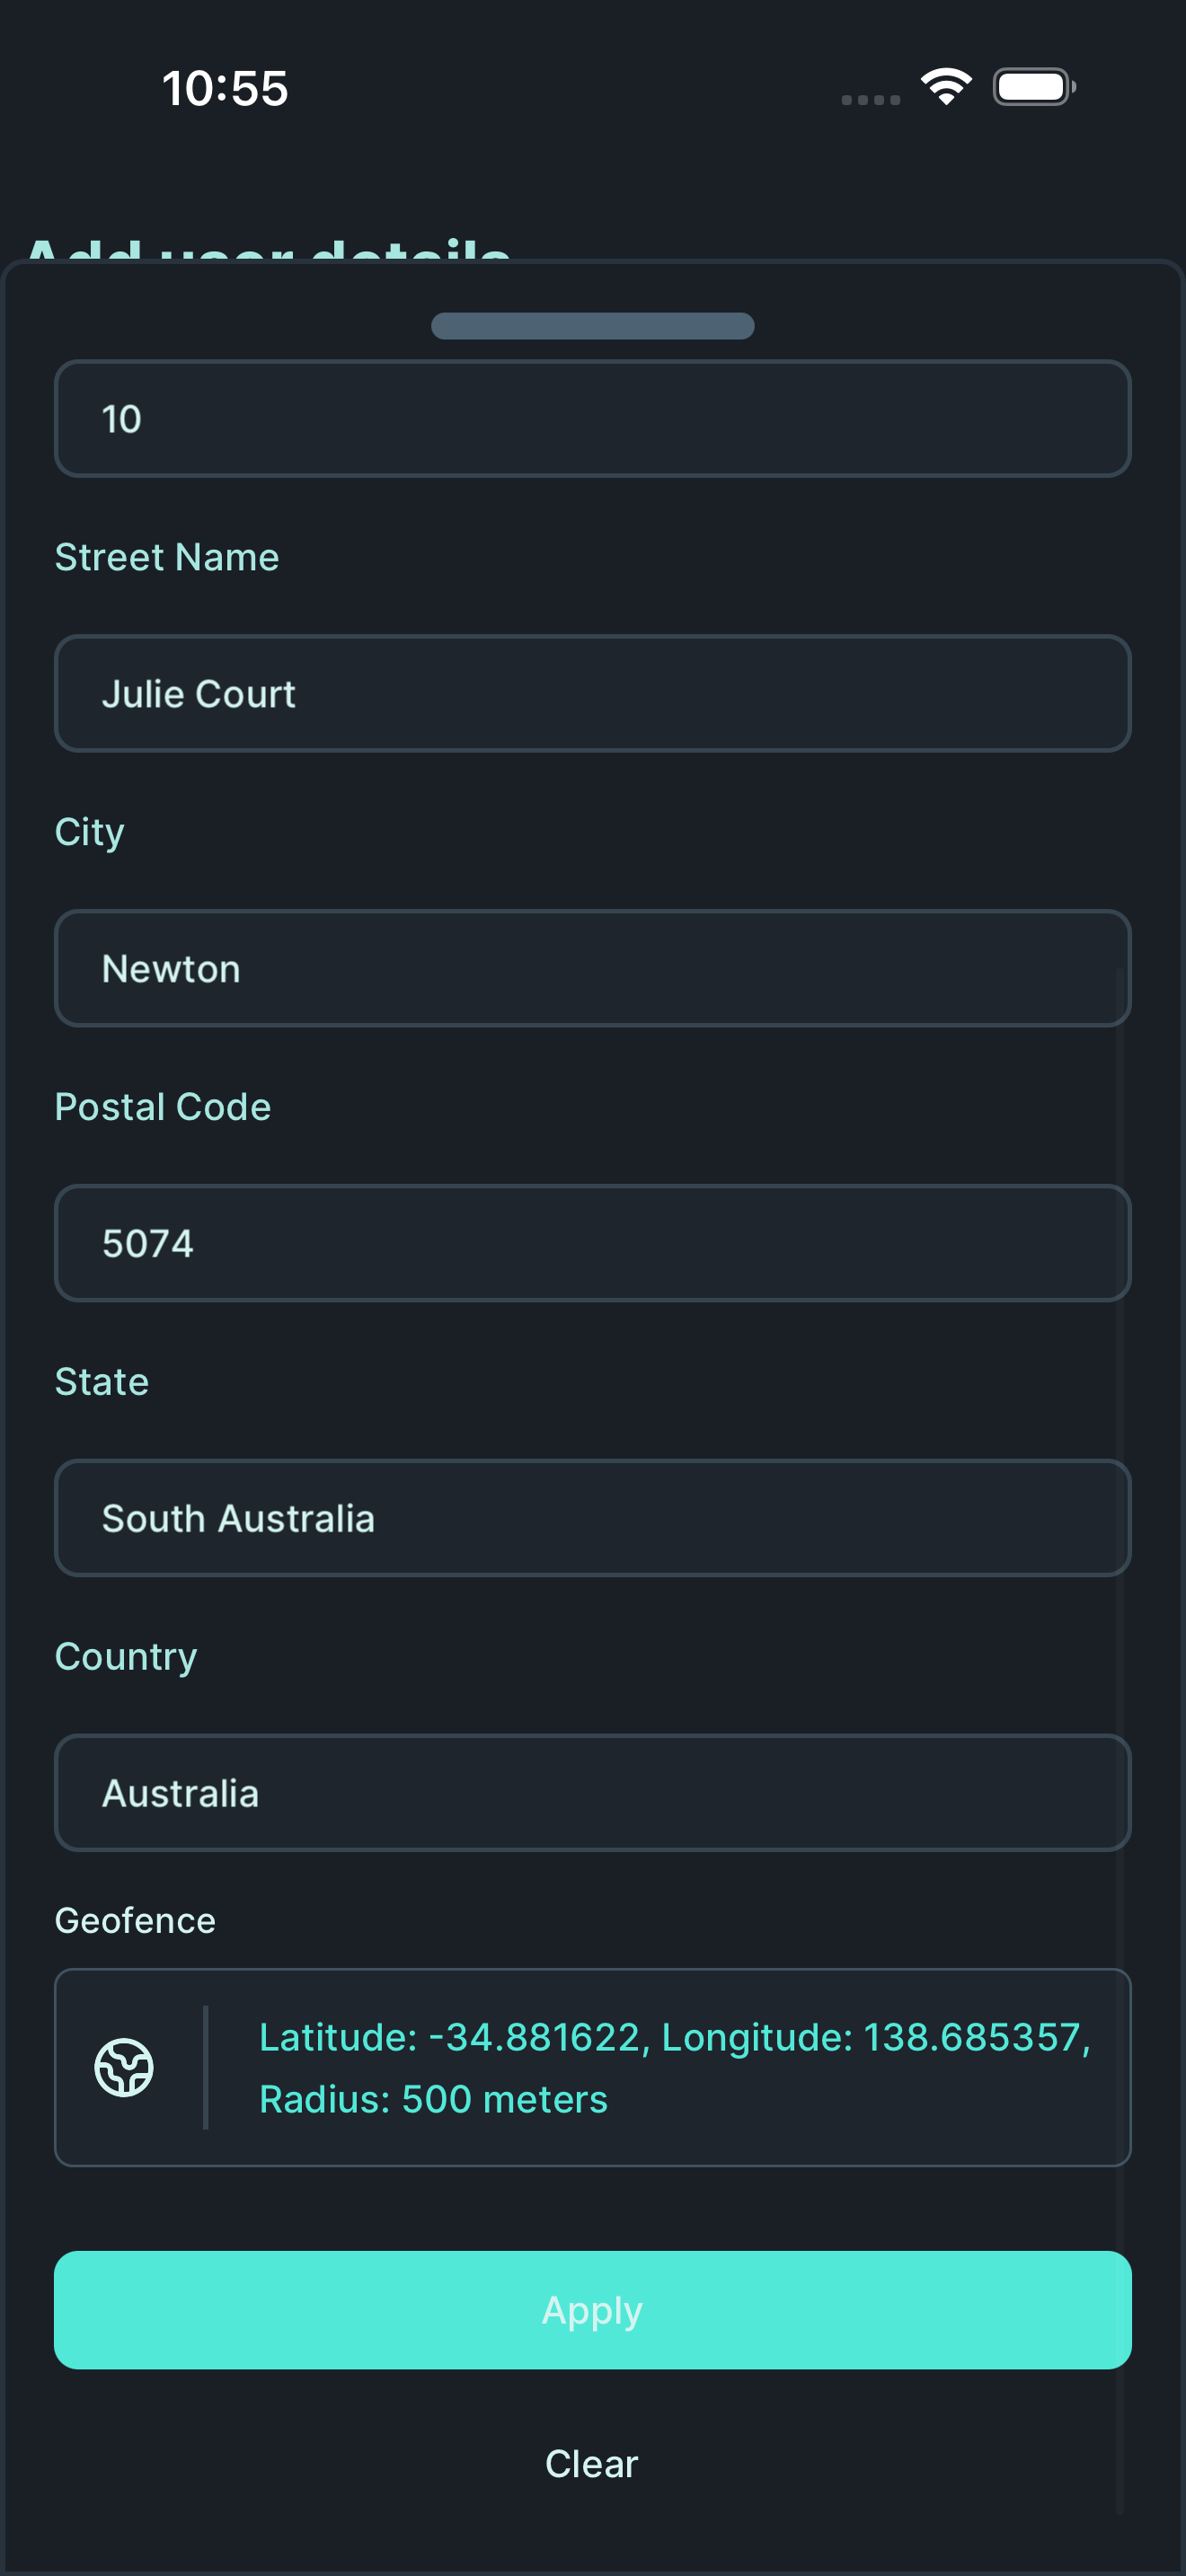
Tap on the correct address from the suggestions. Review the address details and tap “Apply” to confirm.
Back on the organisation form, tap “Create” to finish creating your organisation.
Step 4: Complete your profile
Section titled “Step 4: Complete your profile”After creating your organisation, you’ll need to complete your user profile with personal and emergency contact information.
Personal information
Section titled “Personal information”Fill in your personal details:
- Given names: Your first name(s)
- Family name: Your last name
- Preferred name: What you’d like to be called
- Phone number: Your contact number
- Address: Your personal address
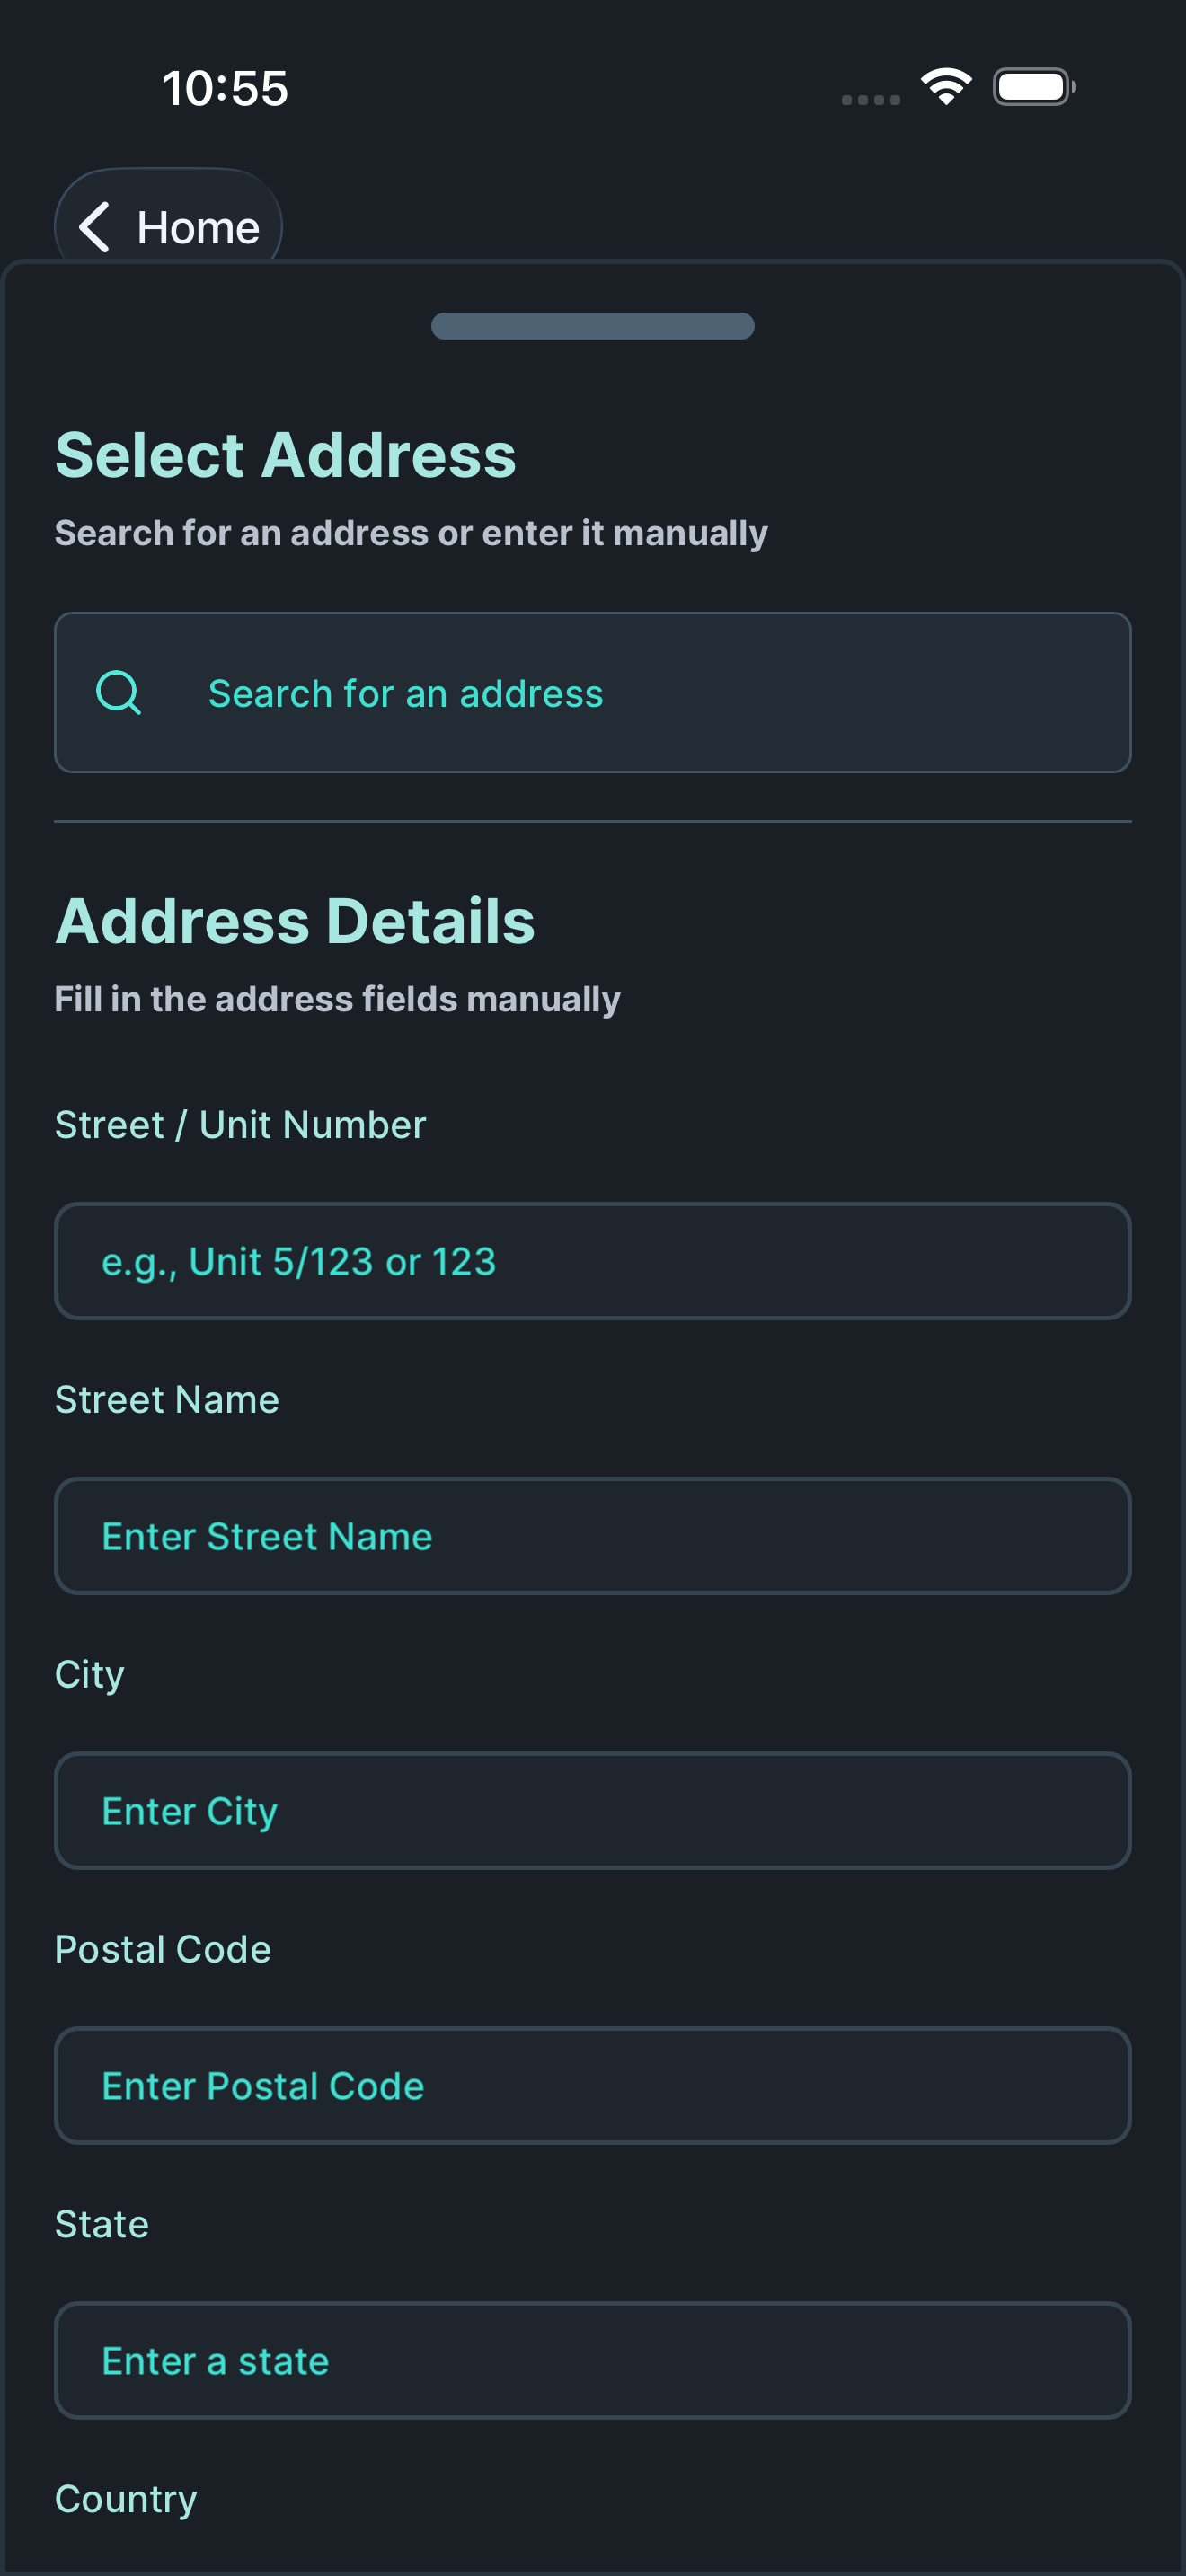
Address selection
Section titled “Address selection”When adding your address, use the same search process as before. Type your address and select it from the suggestions.

Review and apply your address.
Additional details
Section titled “Additional details”Continue filling in:
- Vehicle registration number: Your work vehicle (if applicable)
- Emergency contact number: Phone number of your emergency contact
- Emergency contact name: Full name of your emergency contact
- Emergency contact relationship: Their relationship to you (e.g., spouse, parent)
Then tap “Update” to save your profile.
What’s next?
Section titled “What’s next?”Congratulations! You’ve successfully:
- ✅ Created your Dingo Desk account
- ✅ Set up your first organisation
- ✅ Completed your profile
You’re now ready to:
- Create your first job and experience the complete workflow
- Invite team members to your organisation
- Set up job templates for recurring work
- Customize your reports with branding
Recommended Next Steps
Section titled “Recommended Next Steps”- Complete the Getting Started Guide: Walk through creating and completing your first job → Getting Started
- Understand the Workflow: Learn how everything fits together → How it Works
- Explore Use Cases: See how businesses like yours use Dingo Desk → Use Cases
Need Help?
Section titled “Need Help?”We’re here to support you:
- In-app support: Tap the help icon (?) anytime
- Email: support@dingodesk.com.au
- Documentation: Browse all guides at dingodesk.com.au/docs